In this tutorial, I’ll show you how to make a pretty little fish out of colorful paper strips.
To create such a fish, you will need:
- Colorful strips for quilling;
- A special tool for rolling up;
- A pattern;
- Glue;
- A plastic eye.

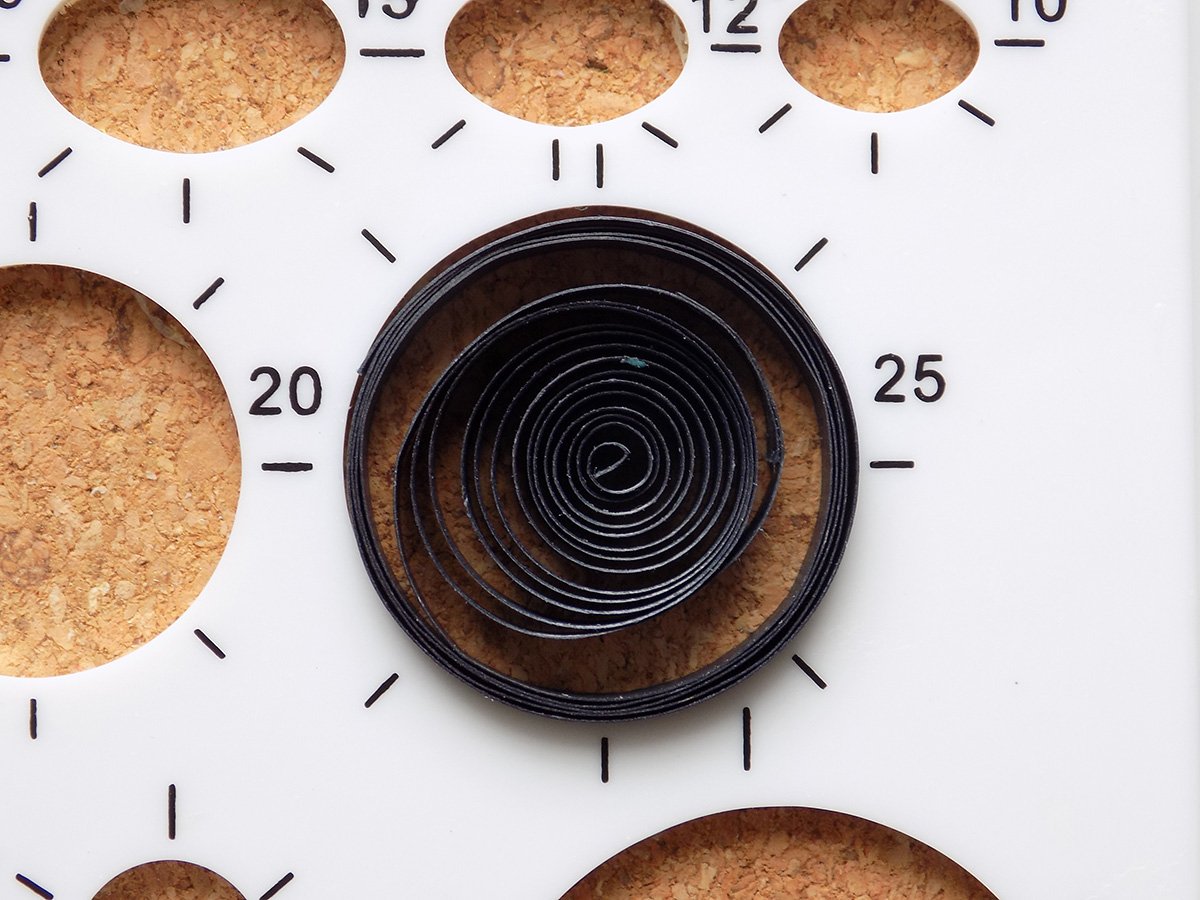
I use dark-blue paper strips to make the main part of the fish. Glue the two strips together. Then roll them up and put into the pattern marked as “25” (it indicates the workpiece diameter).
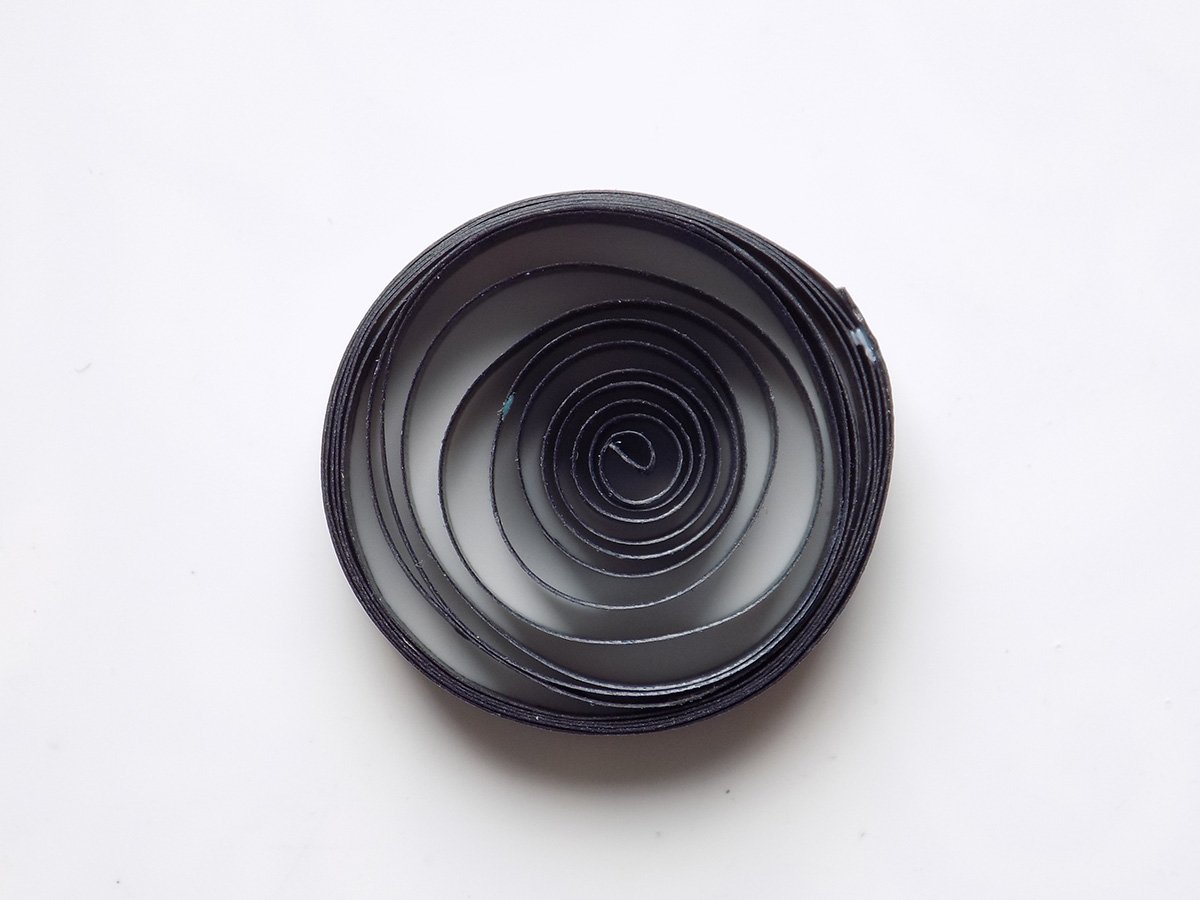
Take the workpiece out of the pattern and glue up its tip.
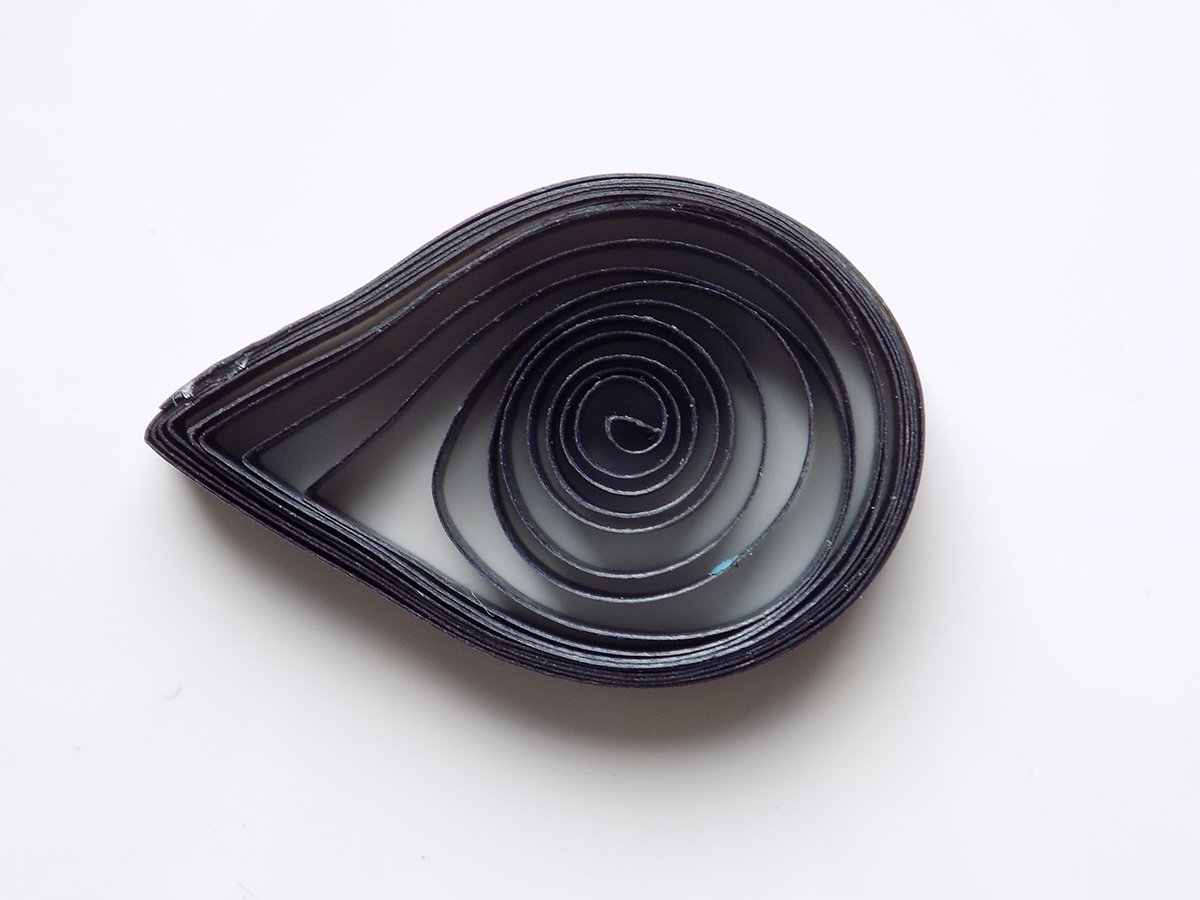
Next, give the workpiece the right shape. For this, you should gently squeeze the workpiece from one side with your fingers. If you’ve done it right, you will get the same workpiece as depicted in Picture 5.
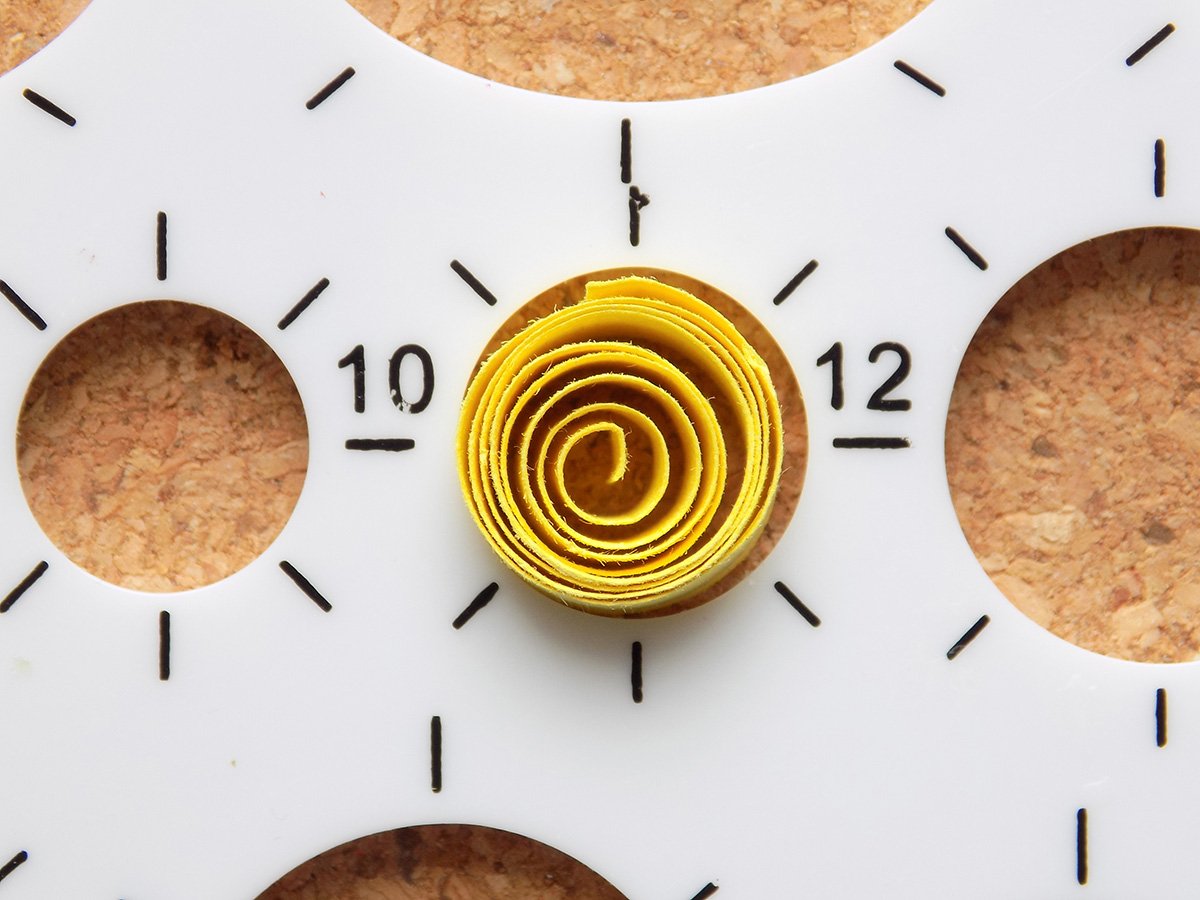
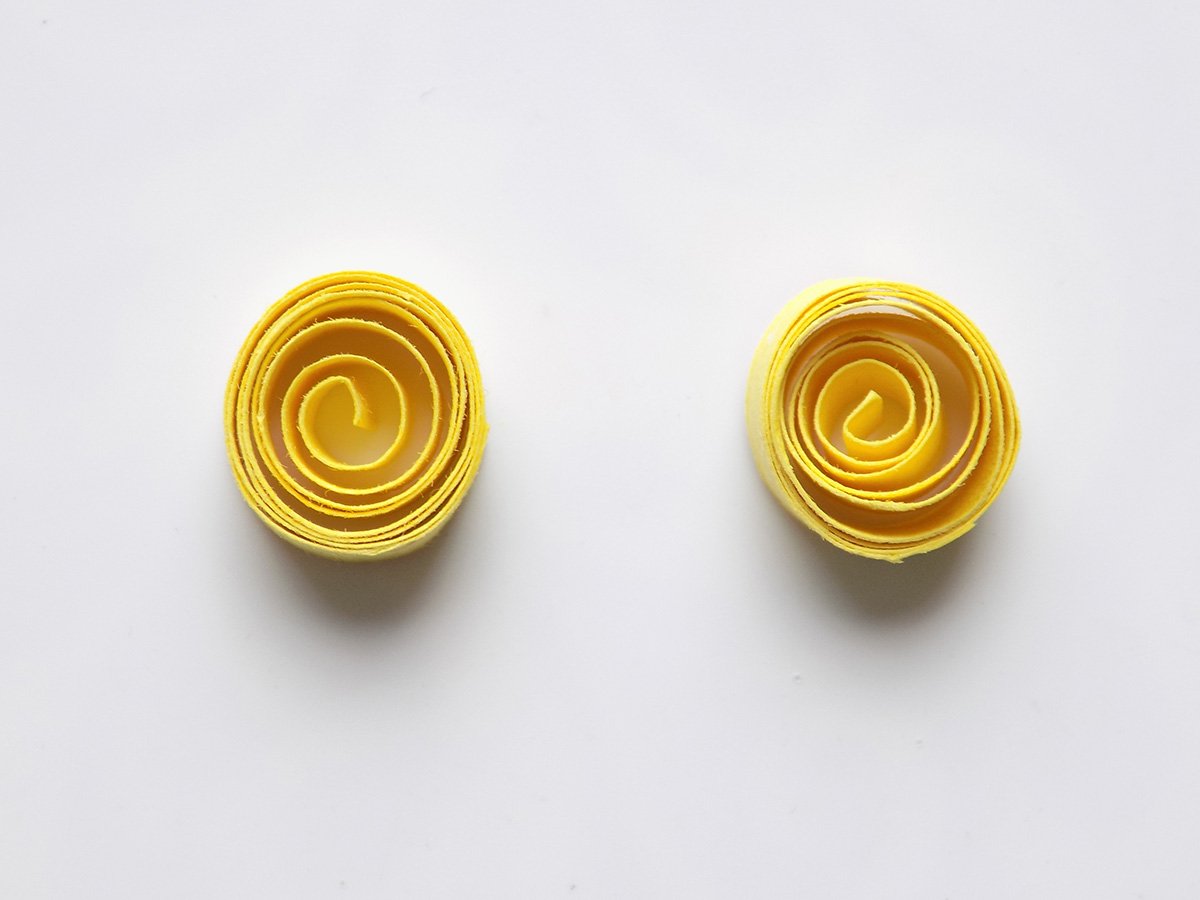
The next step is crafting fins for the paper fish (upper and lower). One yellow strip is enough to make both fins. Cut the strip in half. Take one half, roll it up and place into the pattern marked as “12”.
Take the half out of the pattern and glue up the strip tip.
Do the same with the second half of the yellow strip.
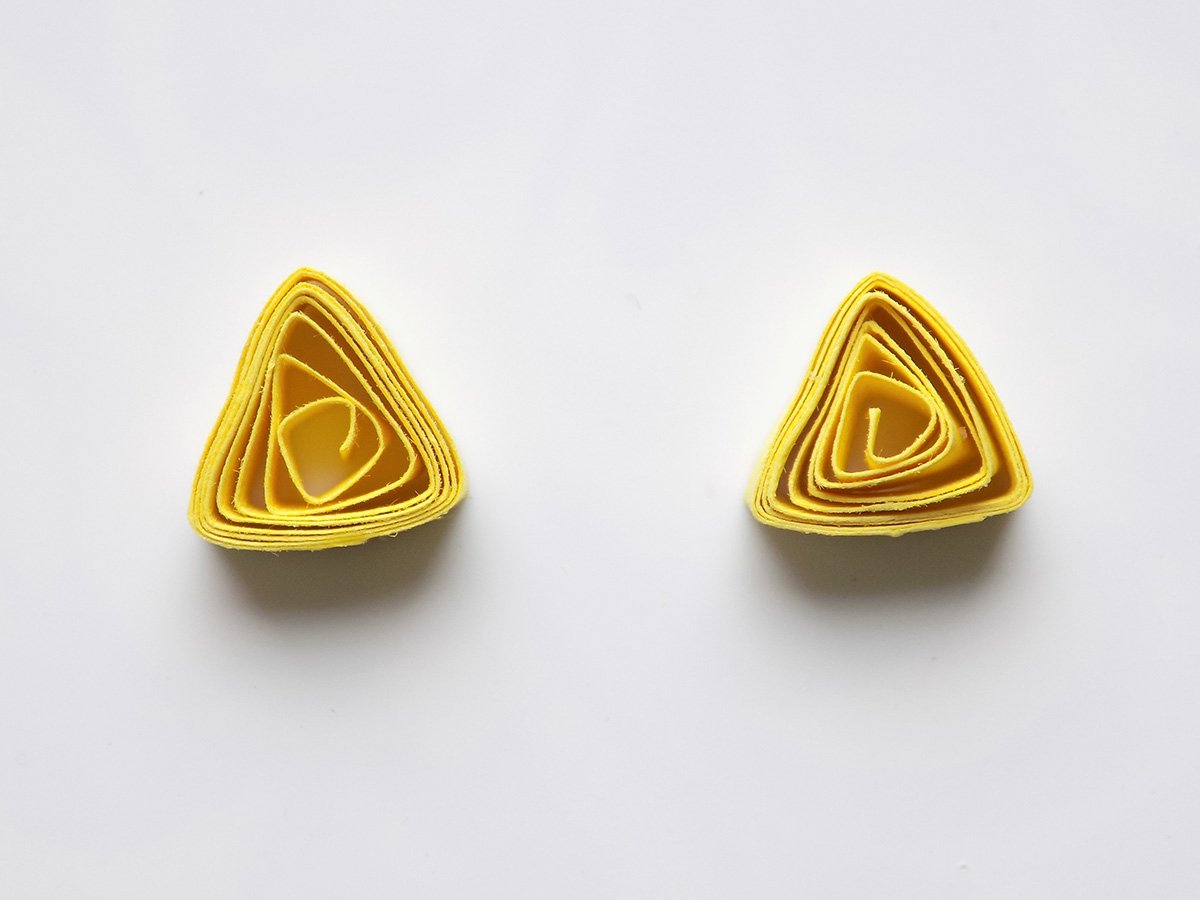
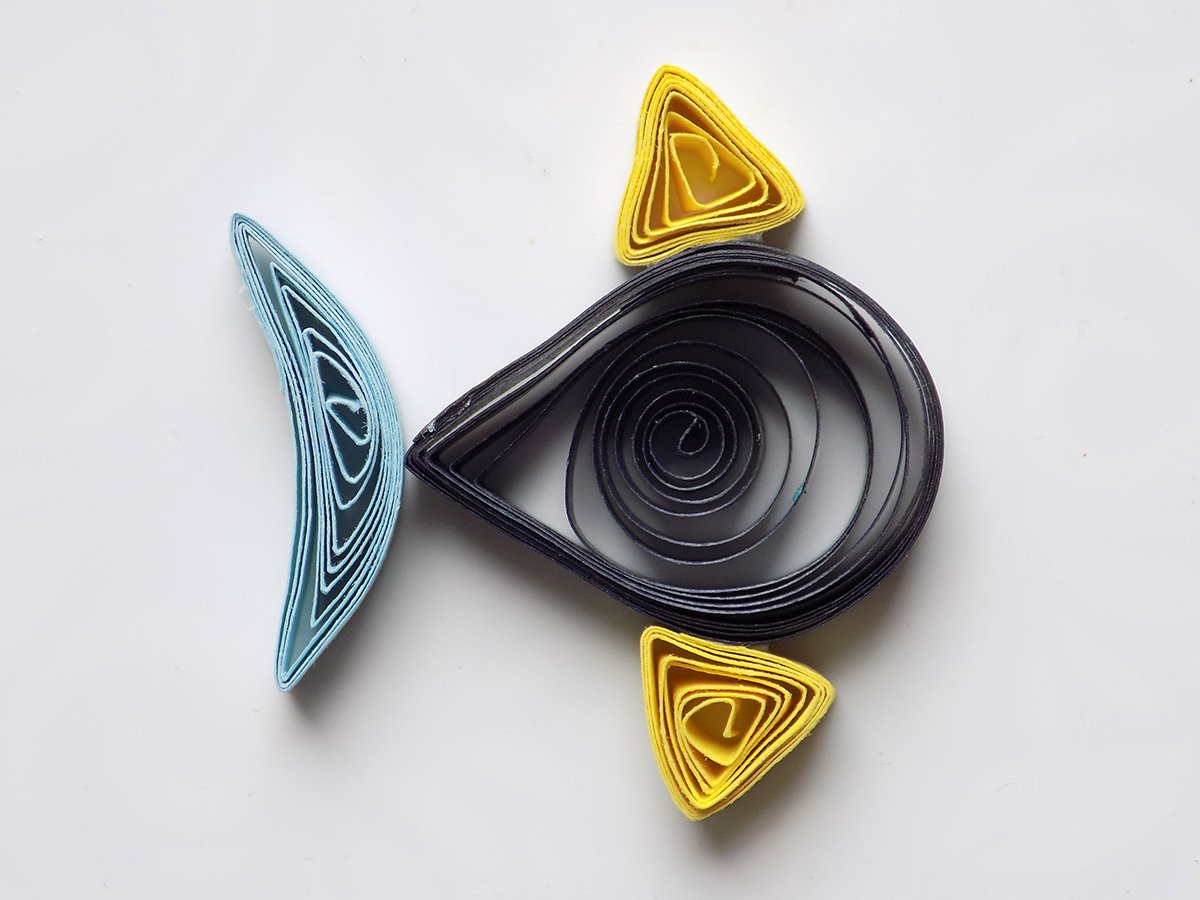
Now, you need to shape both yellow workpieces into triangles. Your fins should look like those on picture 9:
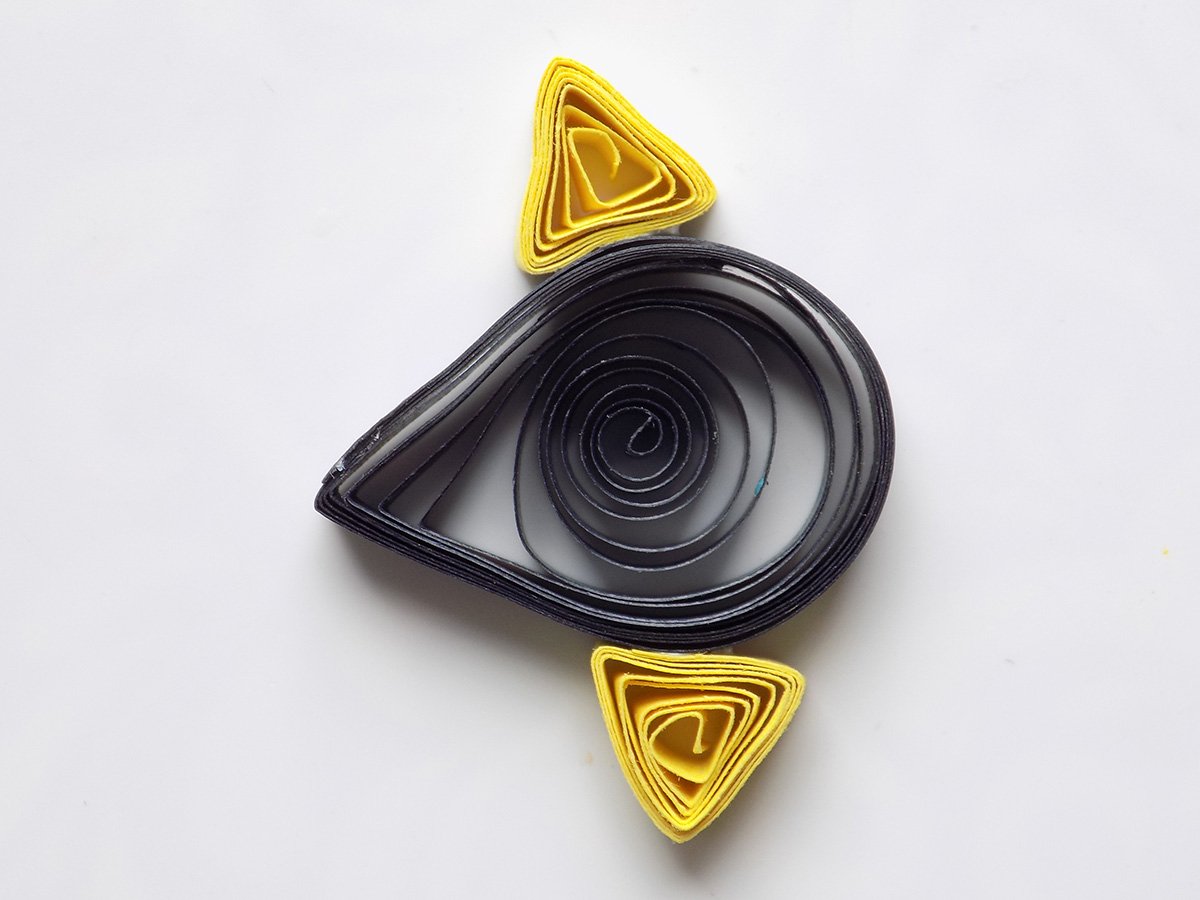
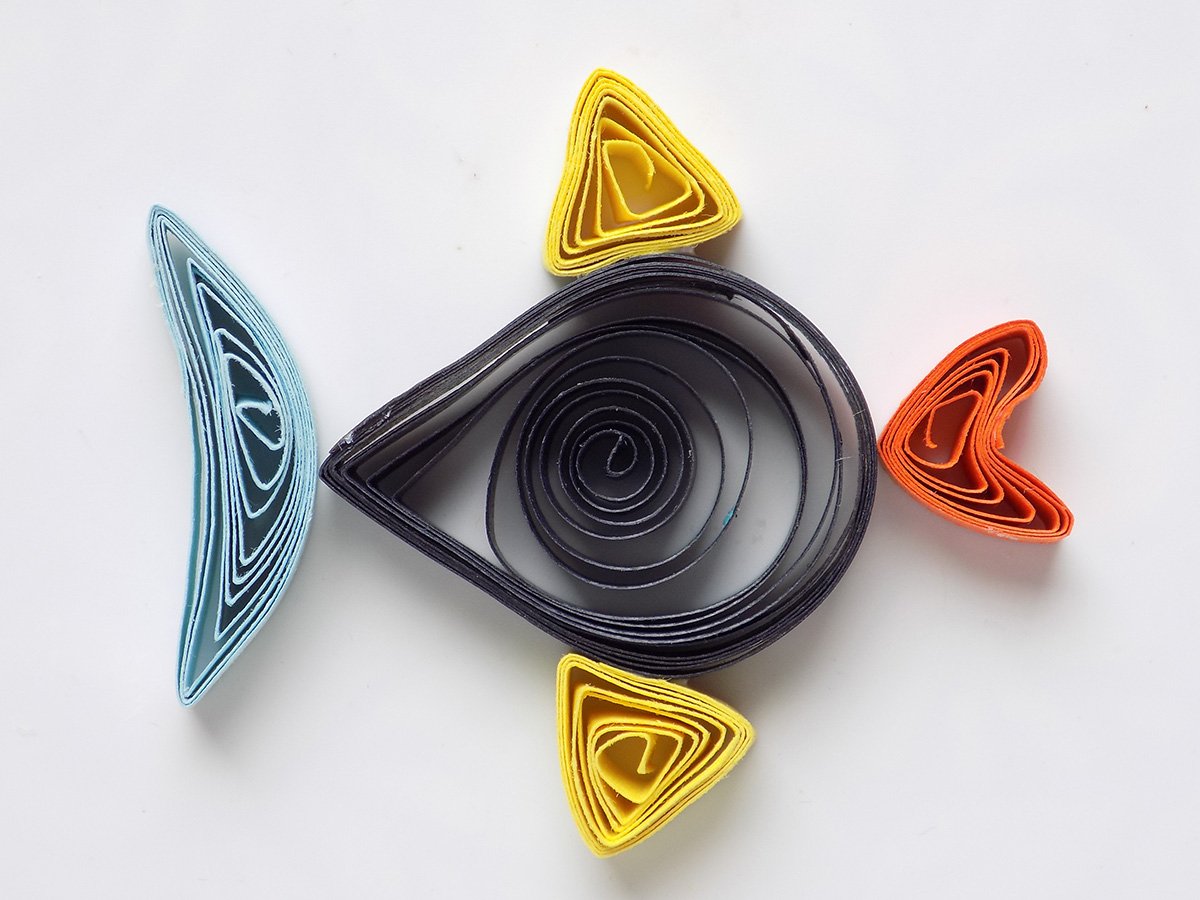
Glue the fins to the fish body.
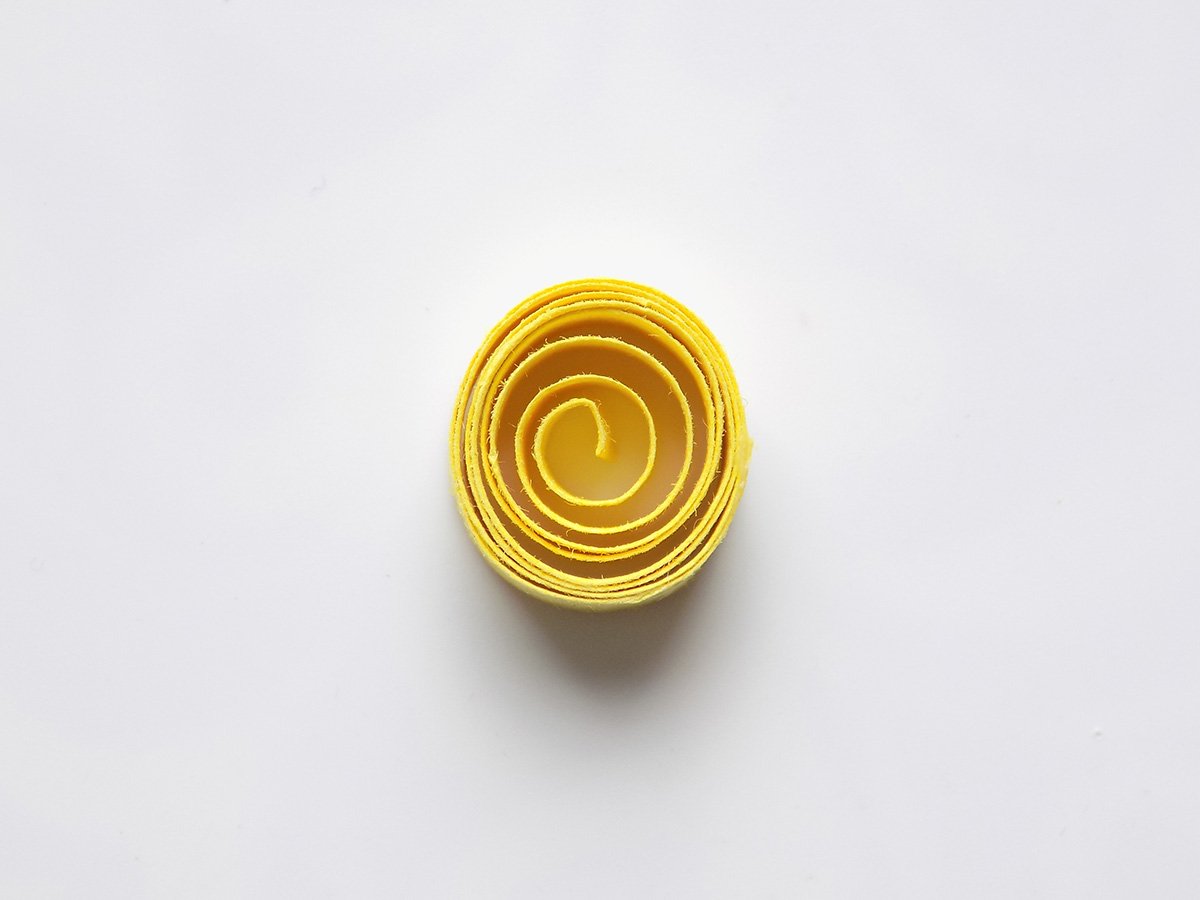
Now it’s time to make the tail. I used a light-blue paper strip for this. Roll up the strip and place it into the deepening on the pattern marked as “20”.
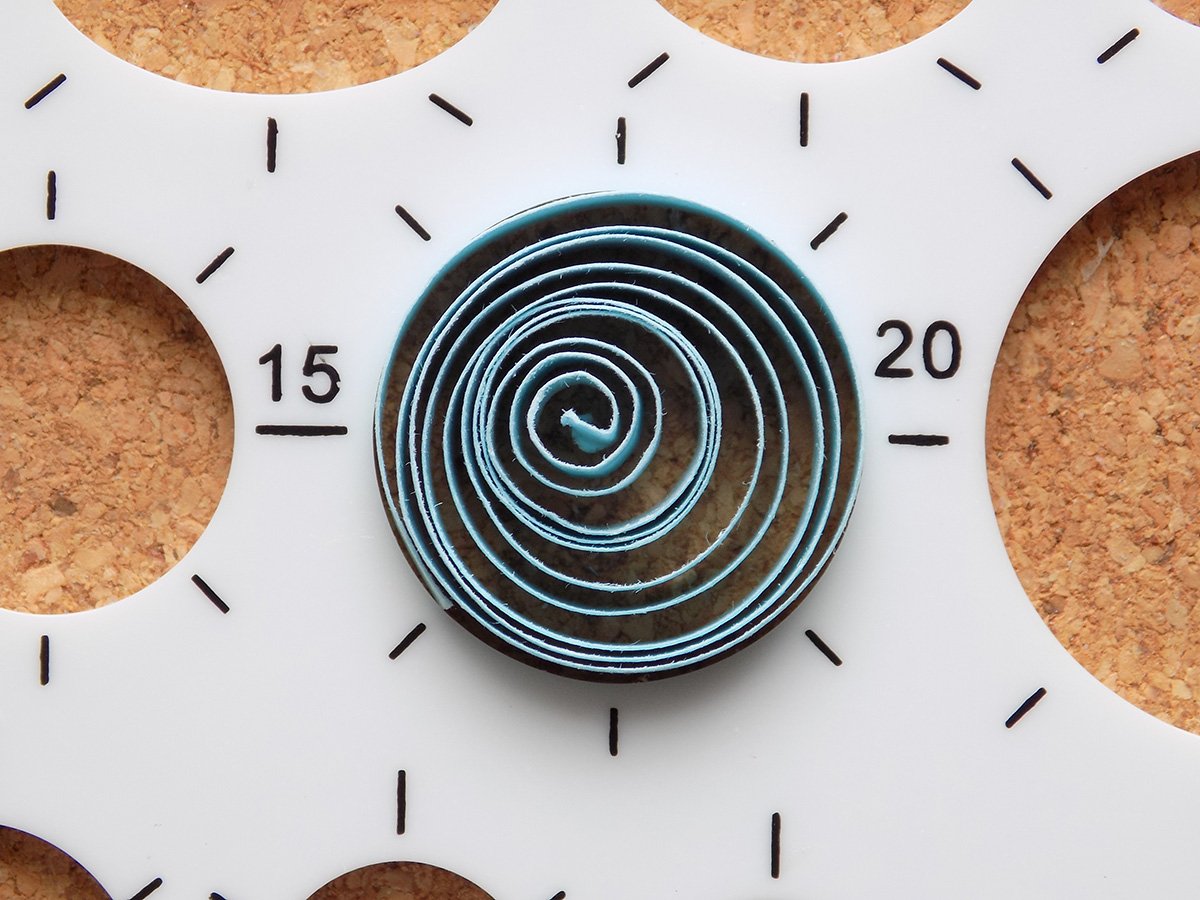
Take the workpiece out and glue up the strip tip.
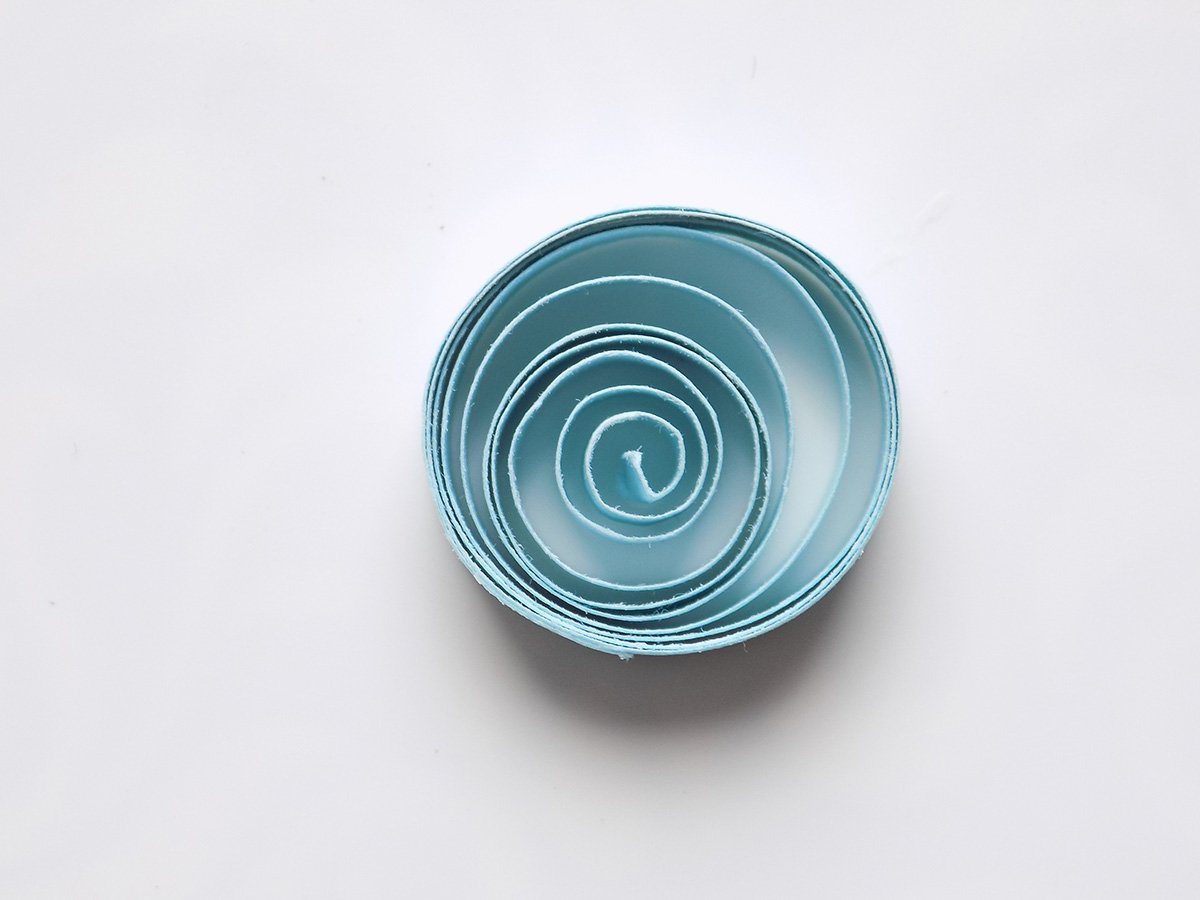
Shape the light-blue workpiece into the form as shown in picture 13:

Now, glue the tail to the fish body.
Next, let’s make lips for our fish out of a red paper strip. Roll up the strip into a workpiece with a diameter of 12 mm.
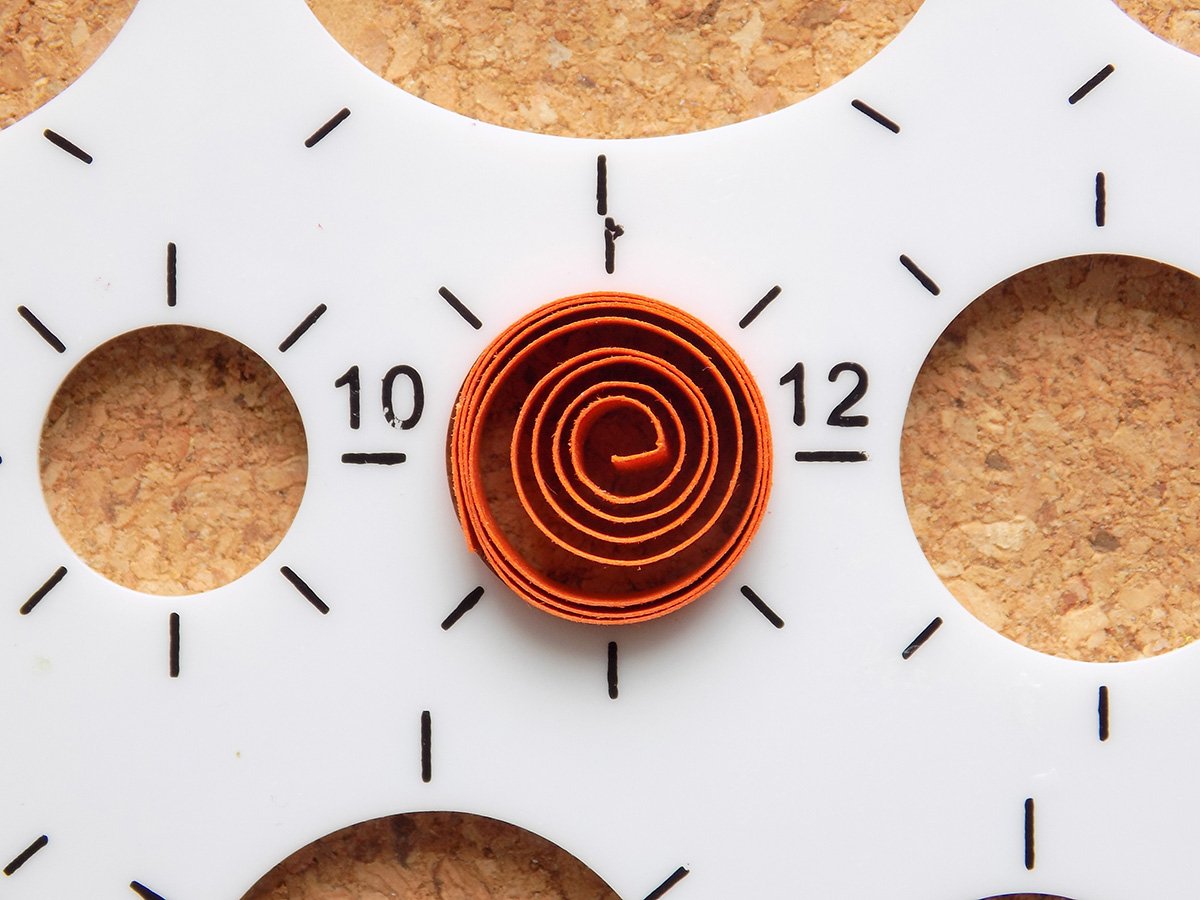
Take the workpiece out and glue up the tip.
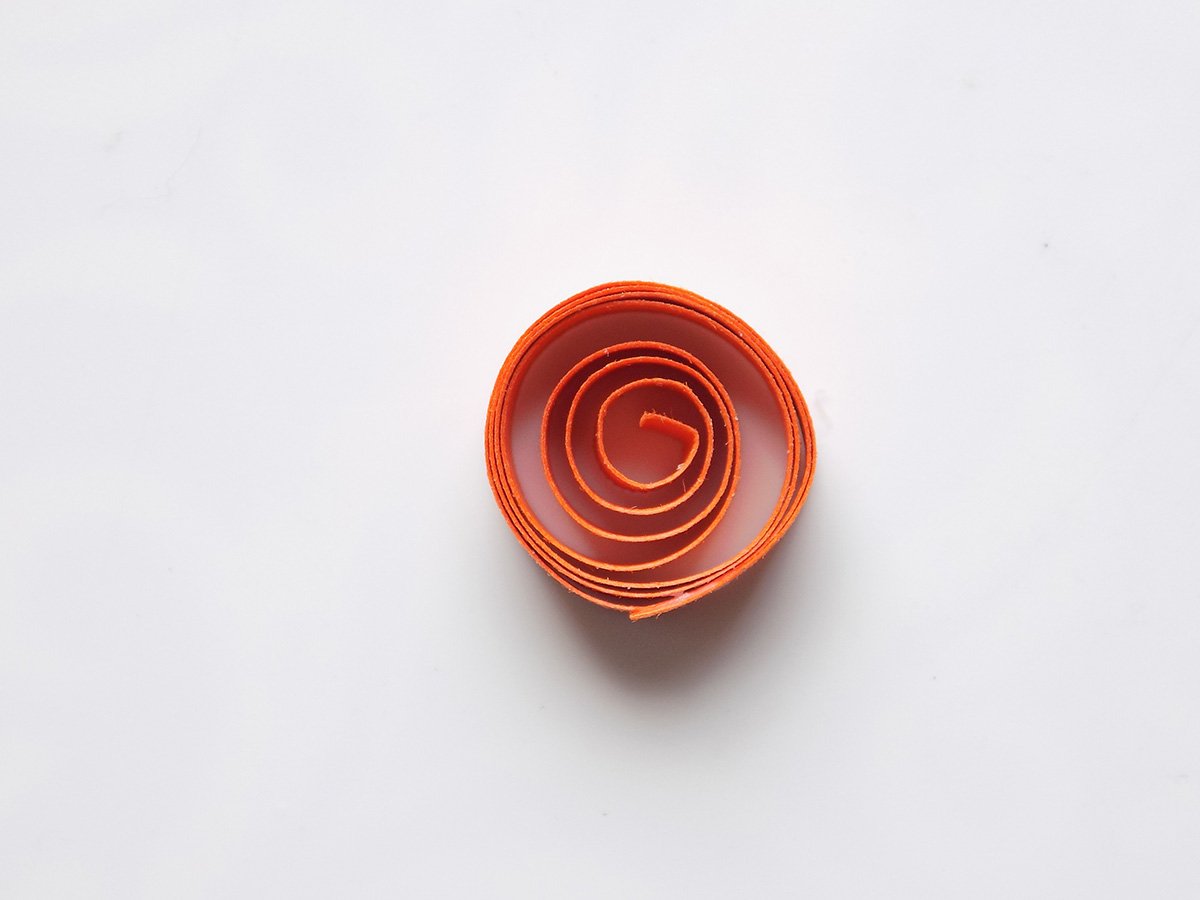
Now, give the workpiece the form of lips.
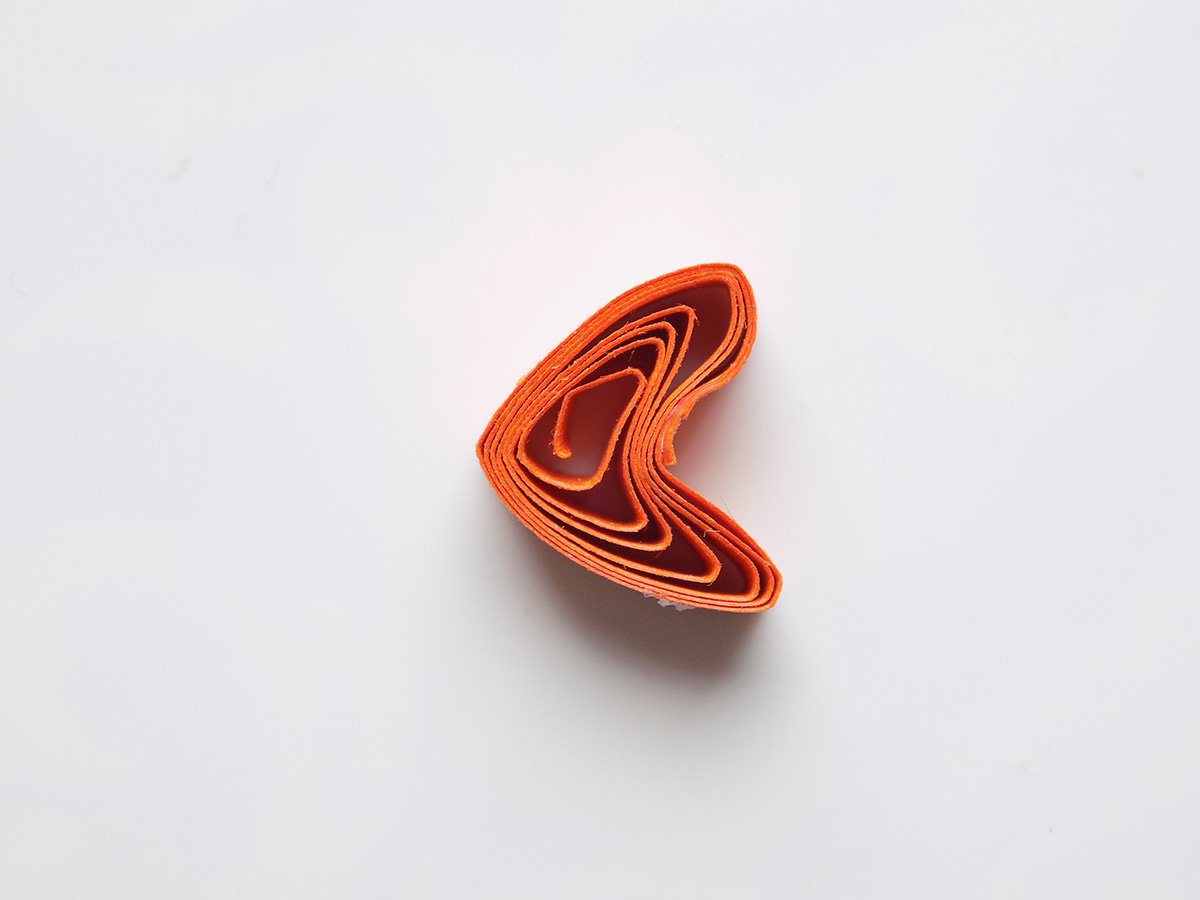
Glue the lips to the front part of our ship.
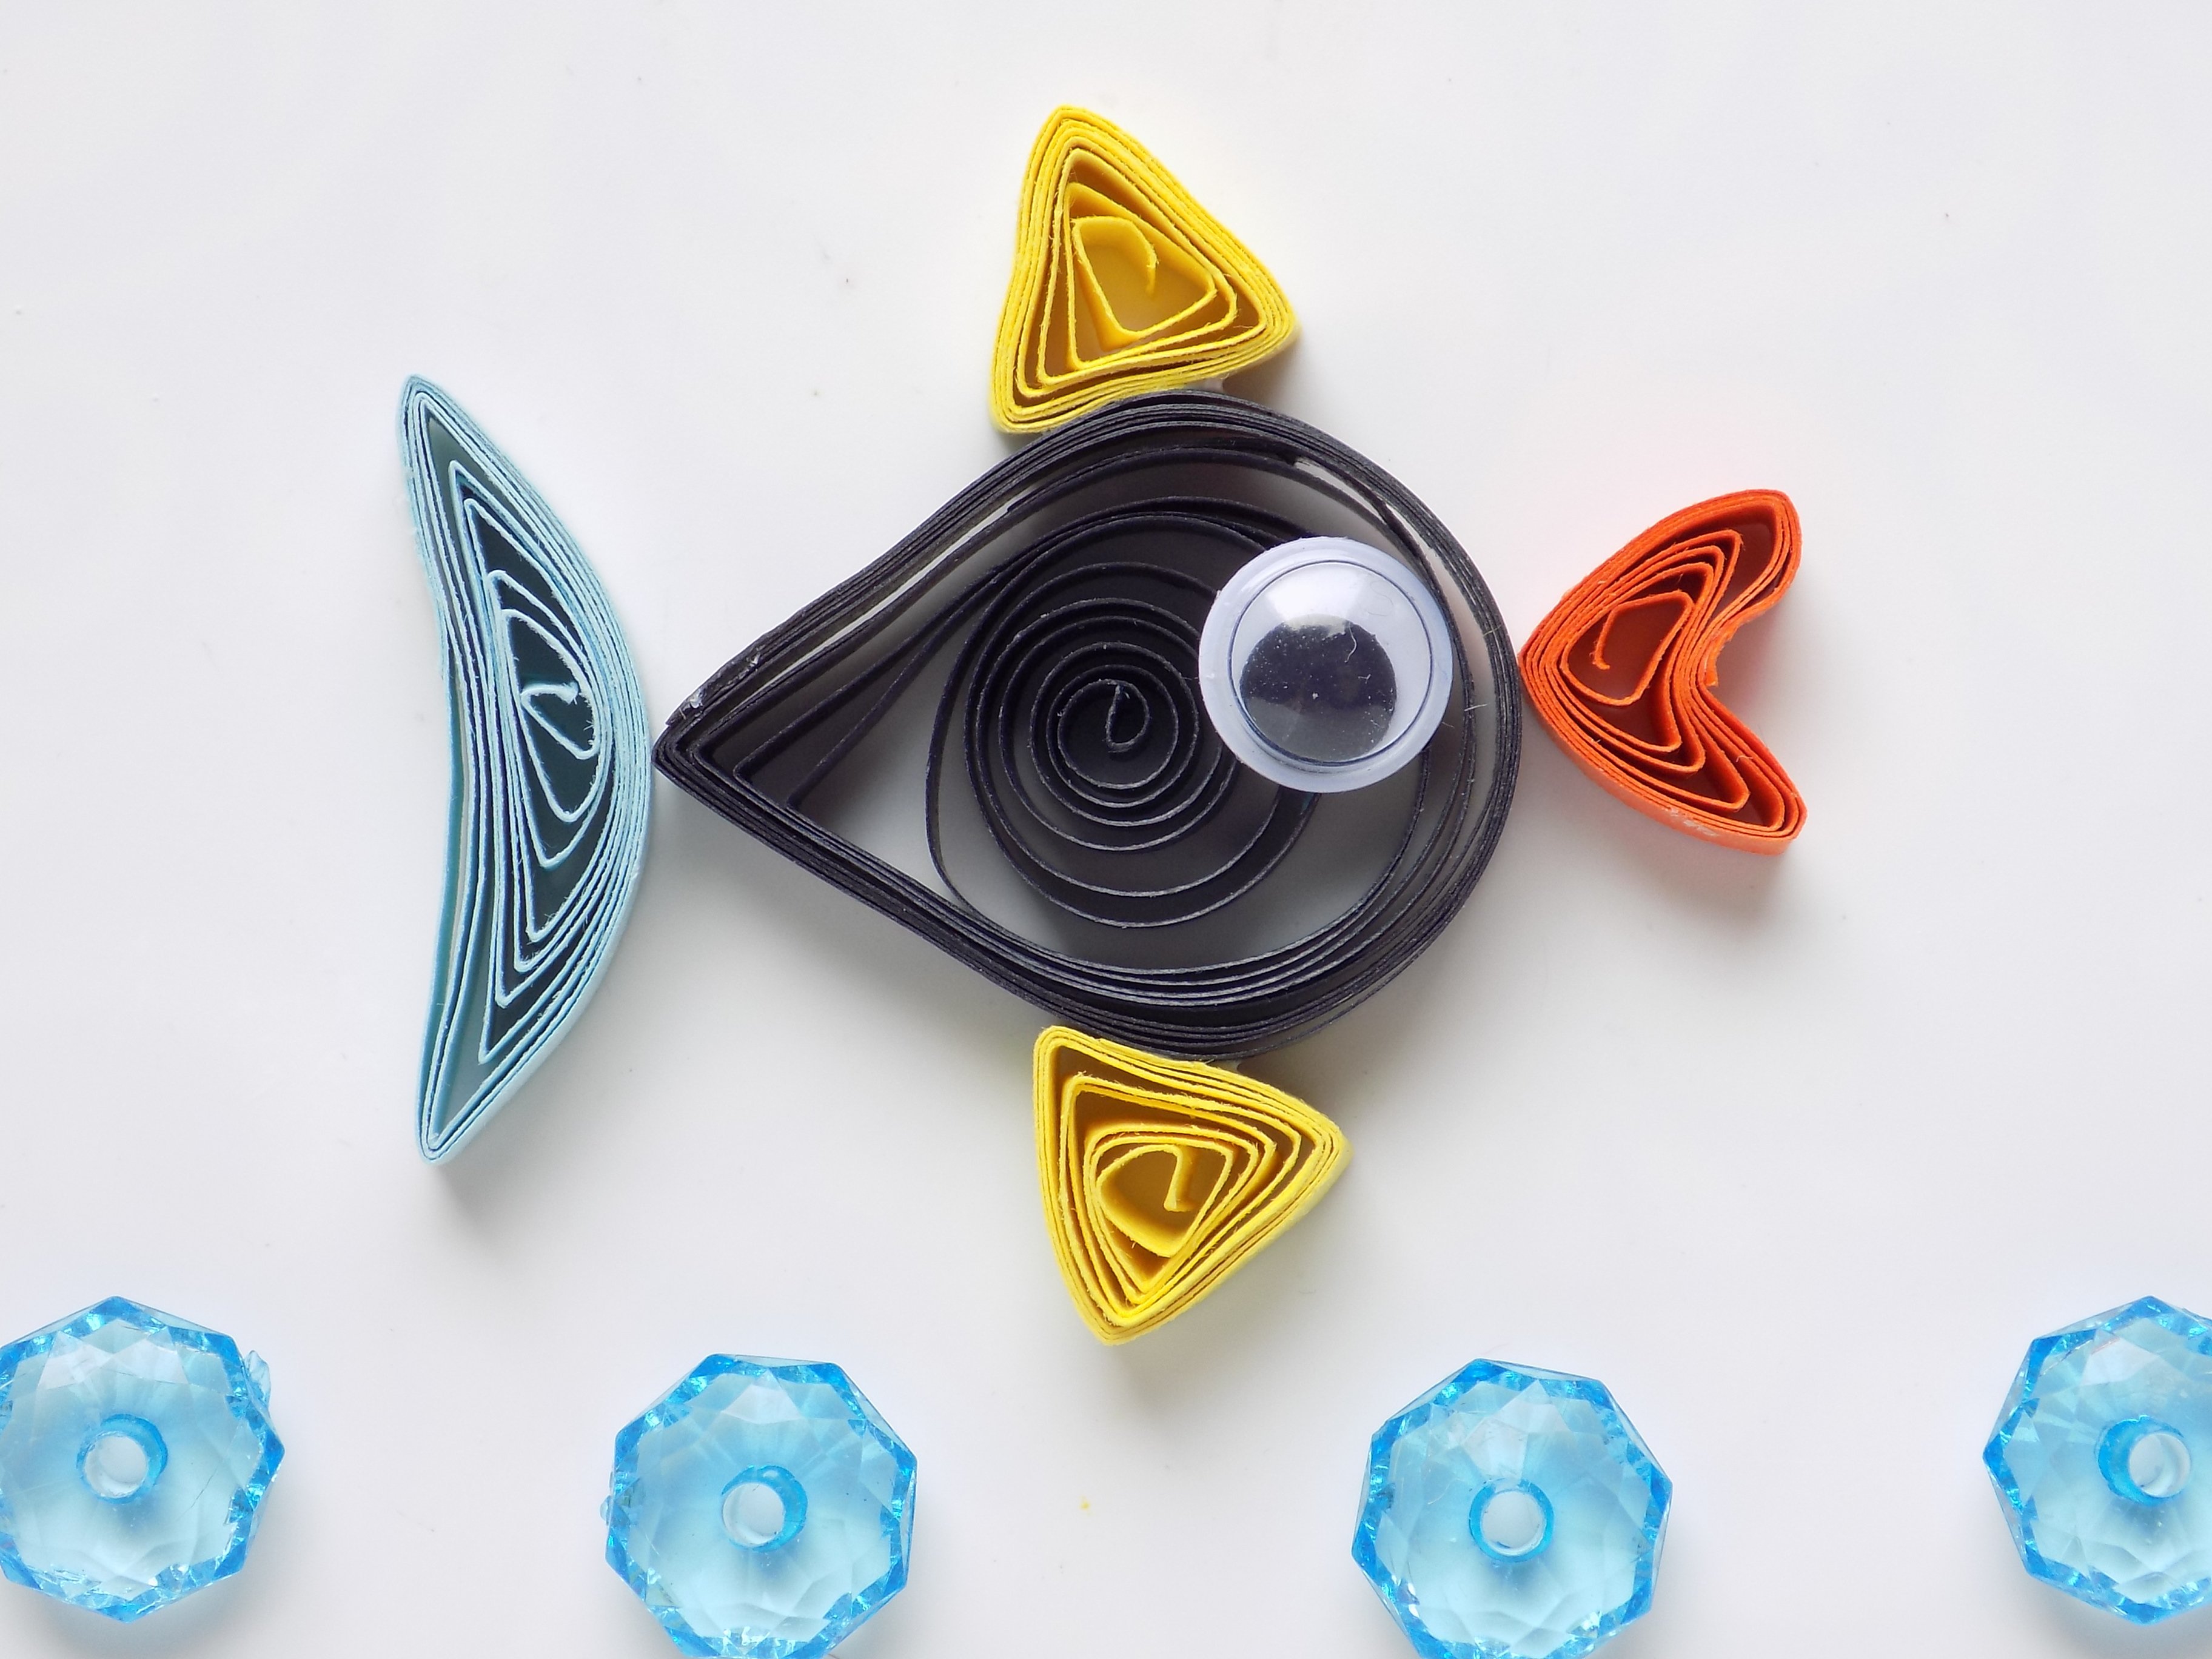
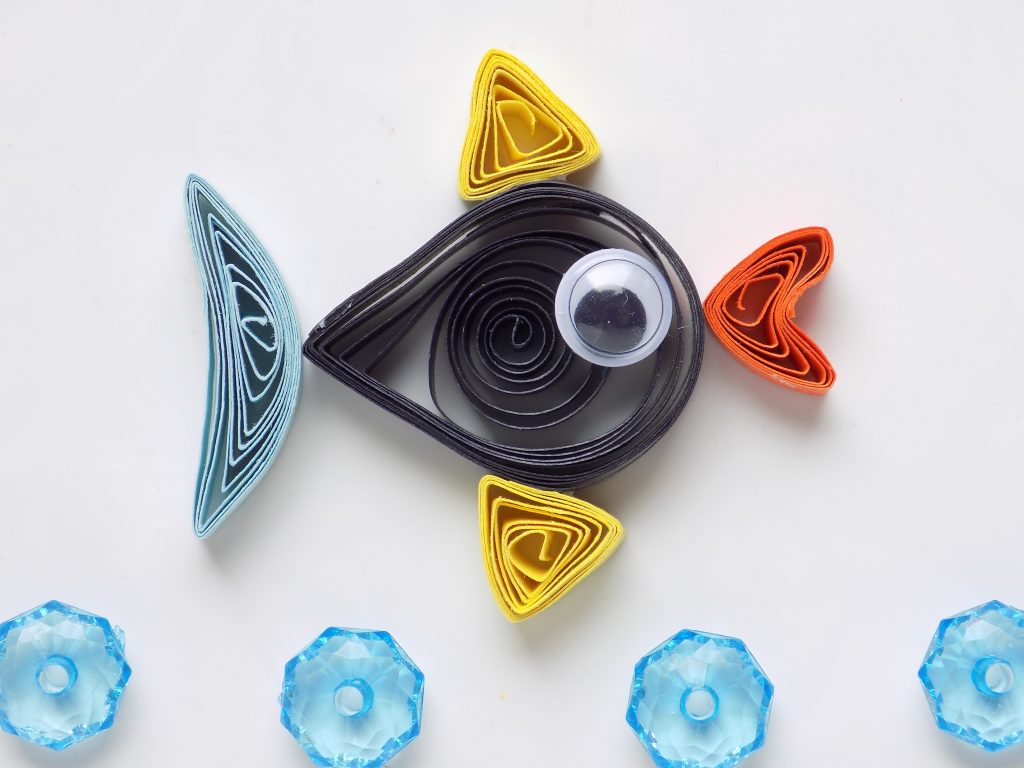
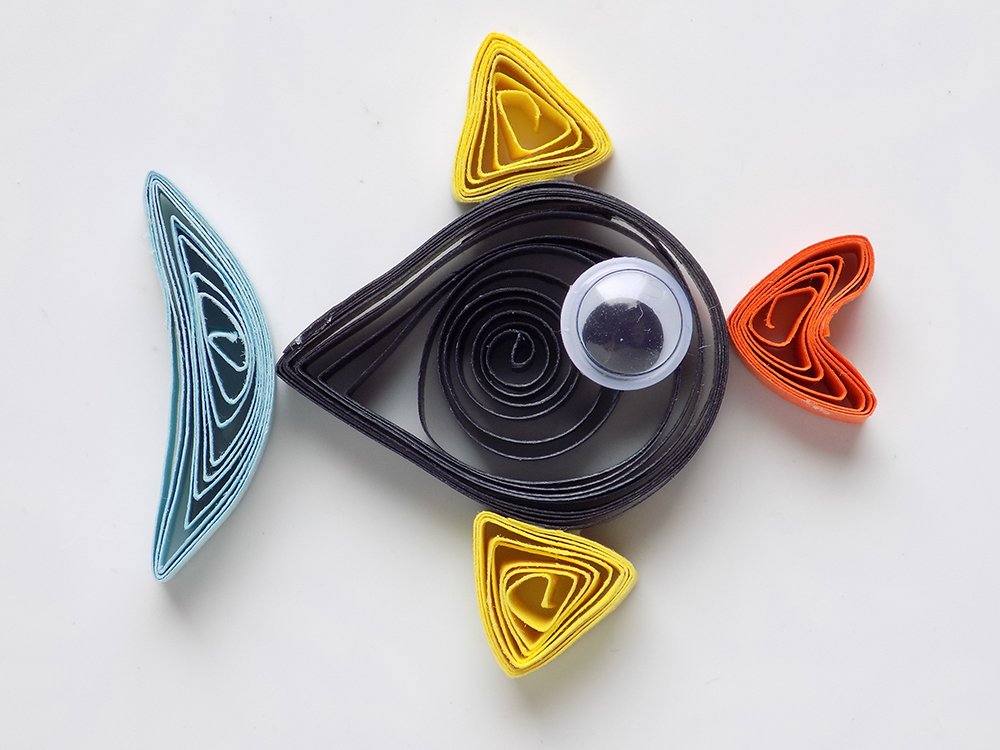
The last touch is putting a plastic eye. Here it is – a little fish made in the quilling technique.
Did you like the post? Write to me something in the comments.