If your kids are fans of the Minion movies, they are sure to like a bookmark featuring a Minion character. Here’s a guide on how I do it.
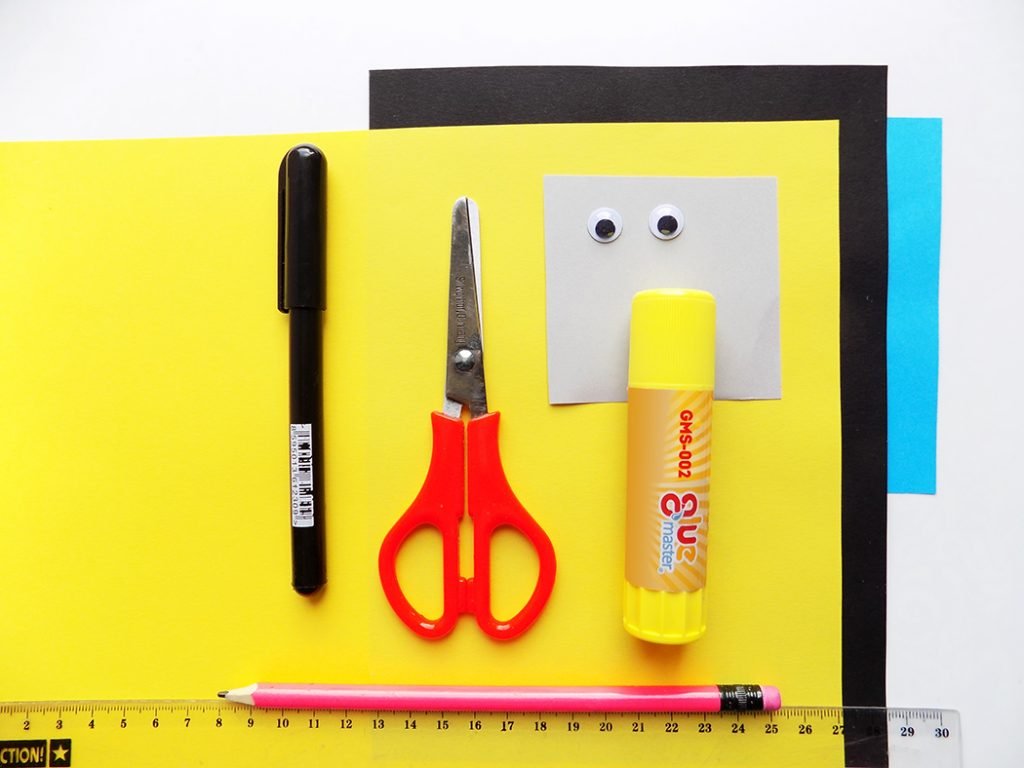
To make a Minion bookmark, I need:
- yellow, blue, black, and gray paper;
- scissors;
- a glue stick;
- plastic eyes;
- a black marker;
- a pencil;
- a ruler.
How to Make a Minion Bookmark
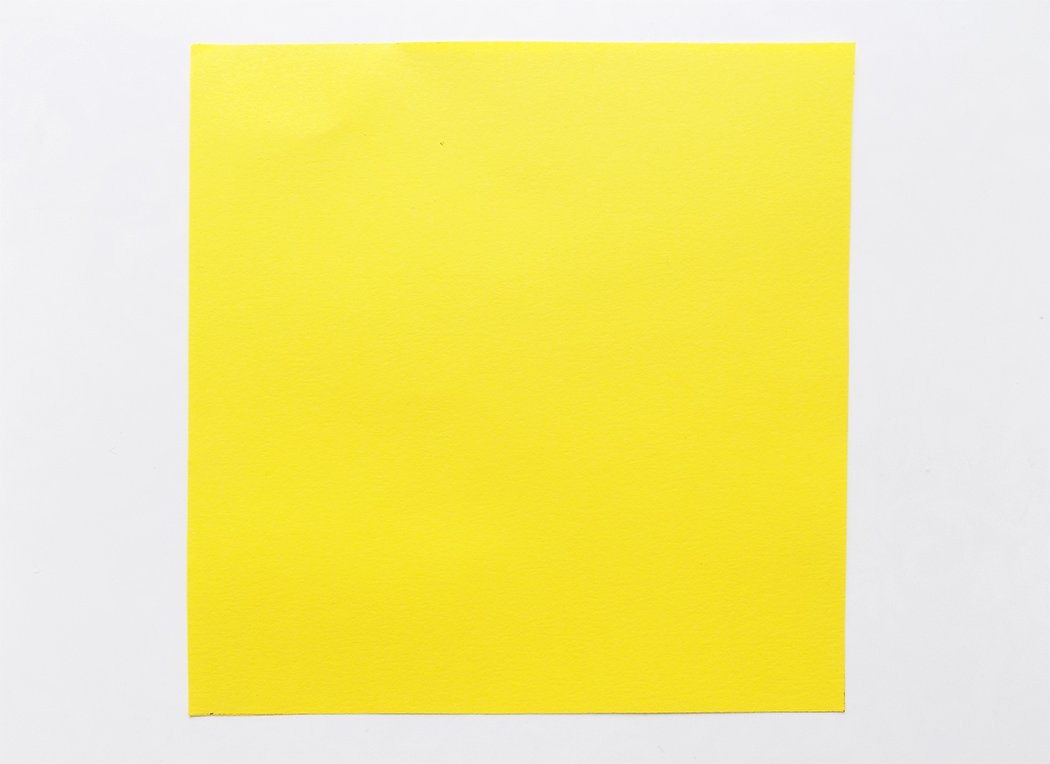
For the base of my bookmark, I cut a 5.5” by 5.5” square of yellow paper.
Next, I fold the square diagonally to form a triangle.

Then I fold the triangle’s right corner up.
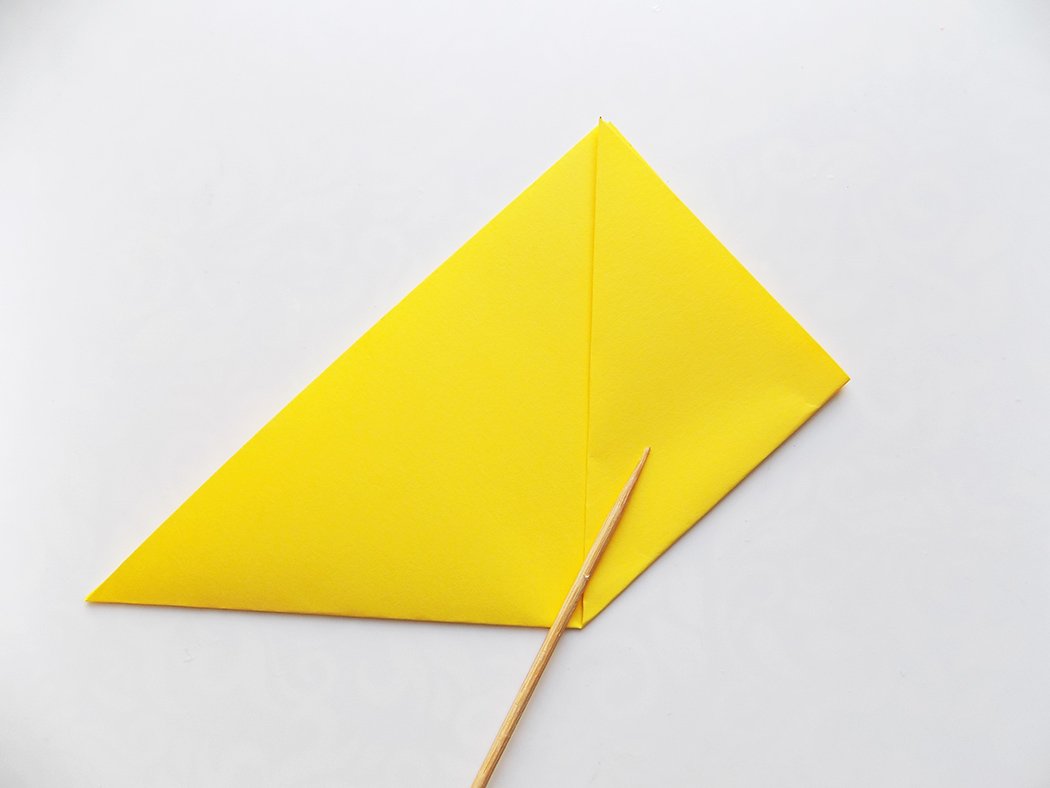
In the same way, I fold up the left corner.
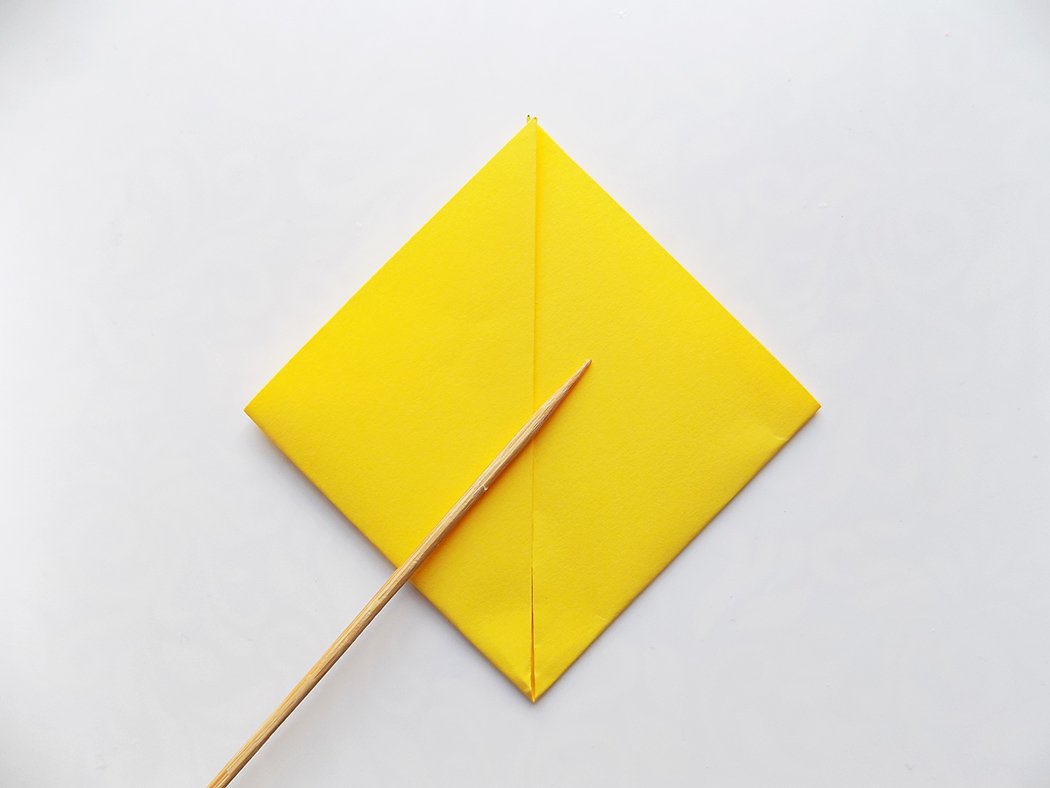
Now I need to smooth the creases.

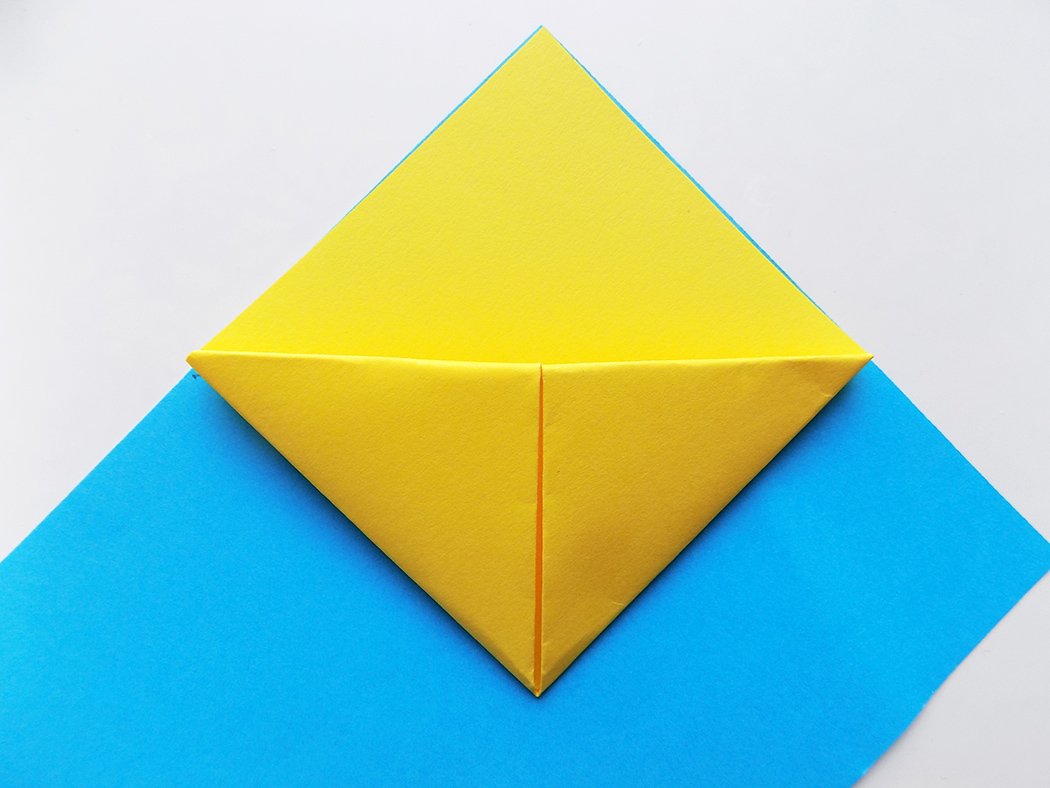
Next, I take the top layer of the triangle’s top point and fold it down (toward the middle of the base).
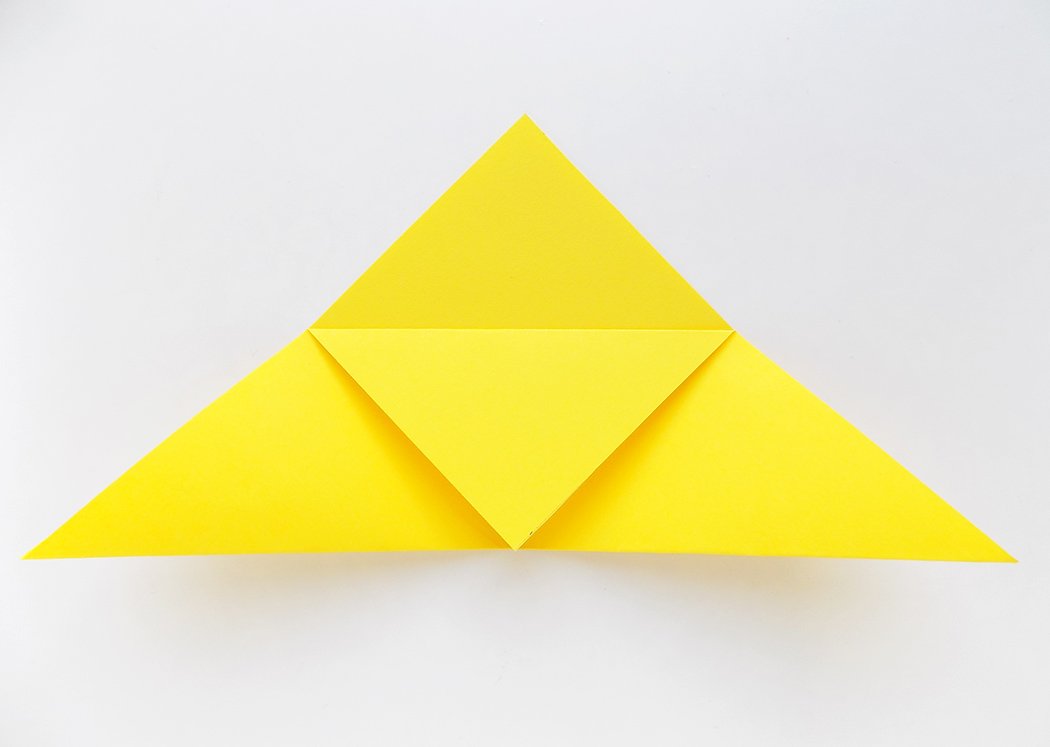
Then I take the previously made triangular folds and tuck them in downwards to form a pocket that will serve as the base of the bookmark.

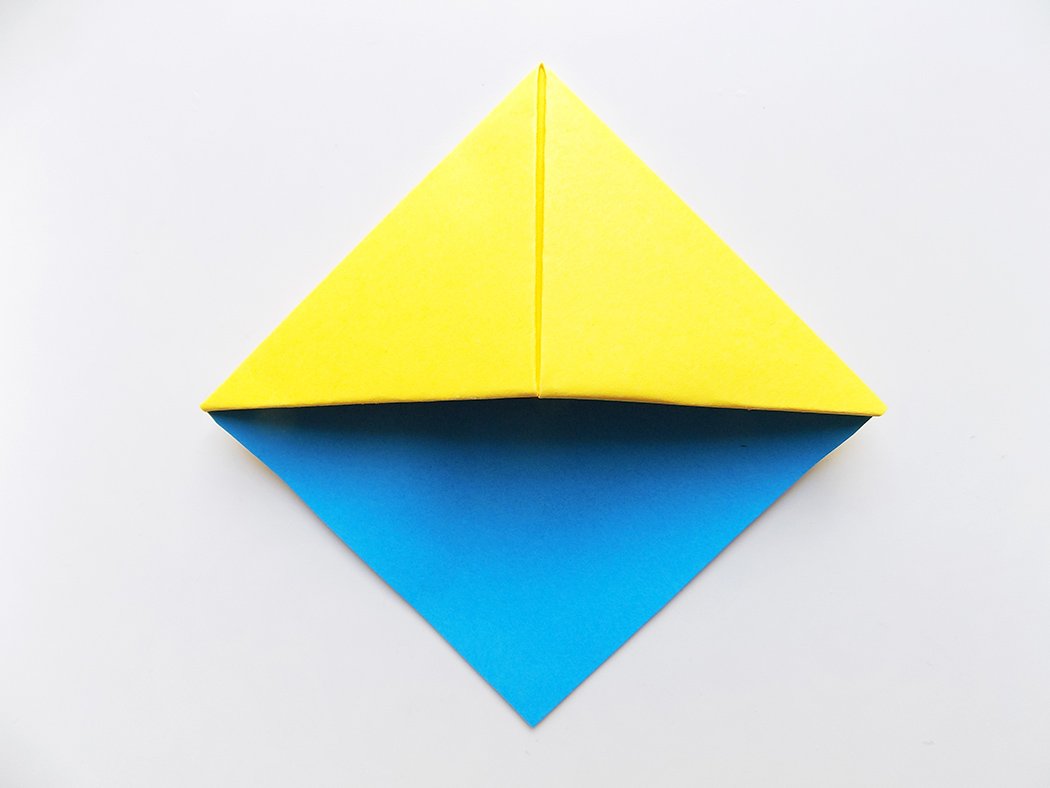
Now I apply the base of the bookmark to the corner of a blue sheet of paper.
After that, I trace and cut out a triangle.
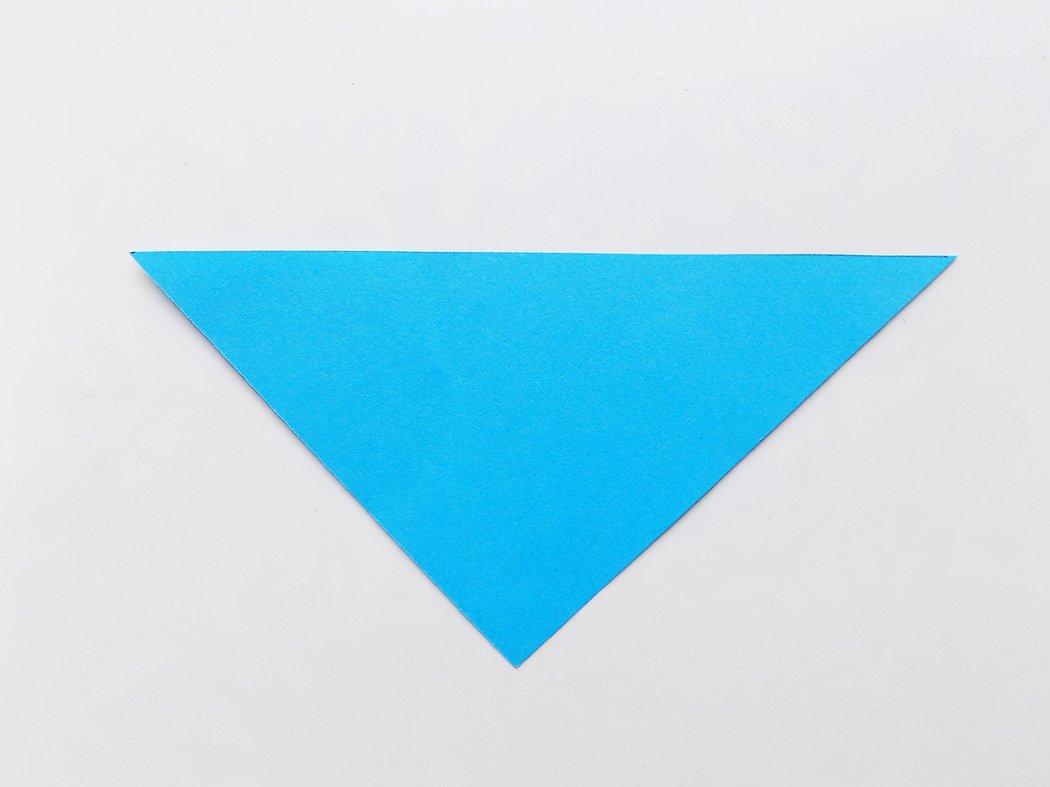
I glue the triangle to the yellow base of my work.
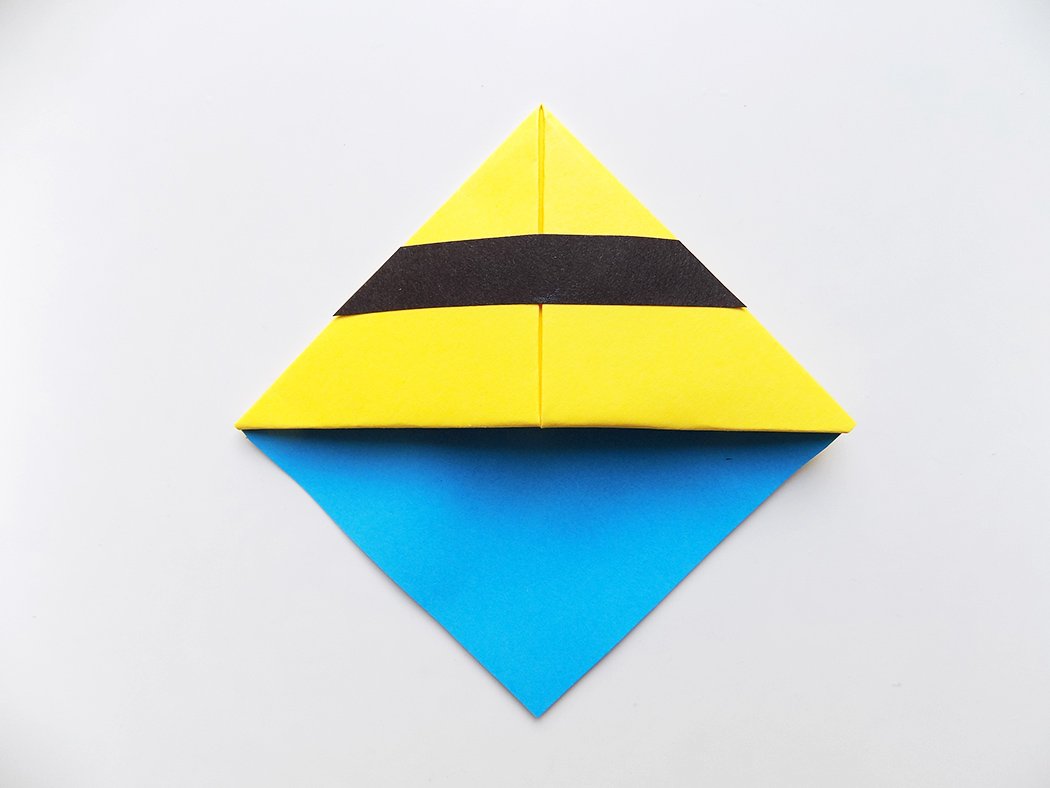
Next, I cut a small strip out of black paper and glue it onto the bookmark.
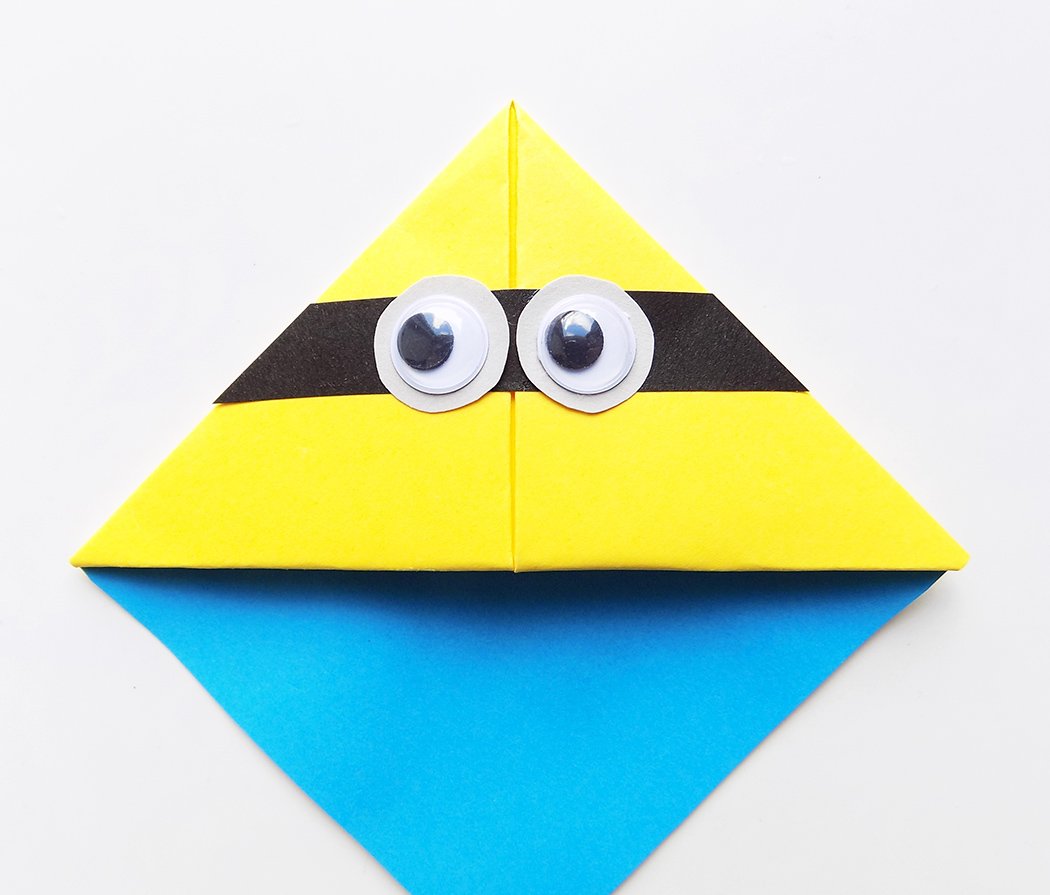
For the eyes, I cut two small circles out of gray paper — the circles should be a little bigger than the plastic eyes.
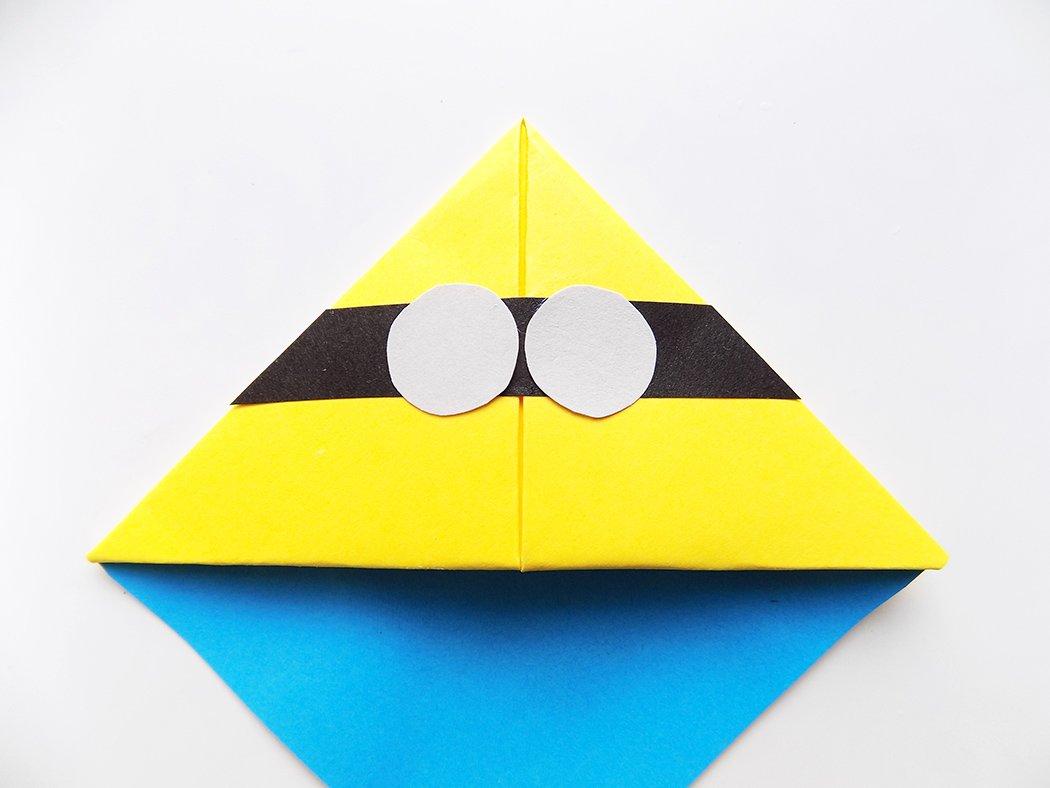
Then I fix the plastic eyes of my Minion on top of the circles.
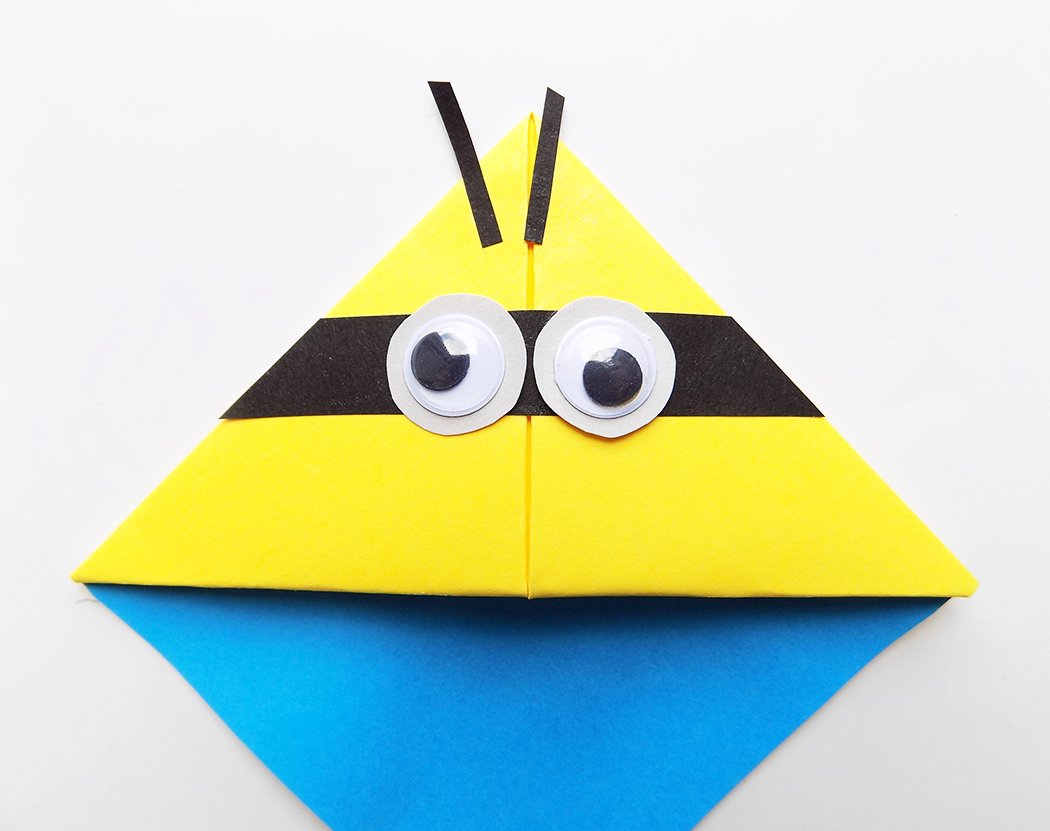
 To add some hair to the Minion, I cut thin strips out of black paper.
And, finally, I use a black marker to draw the mouth.
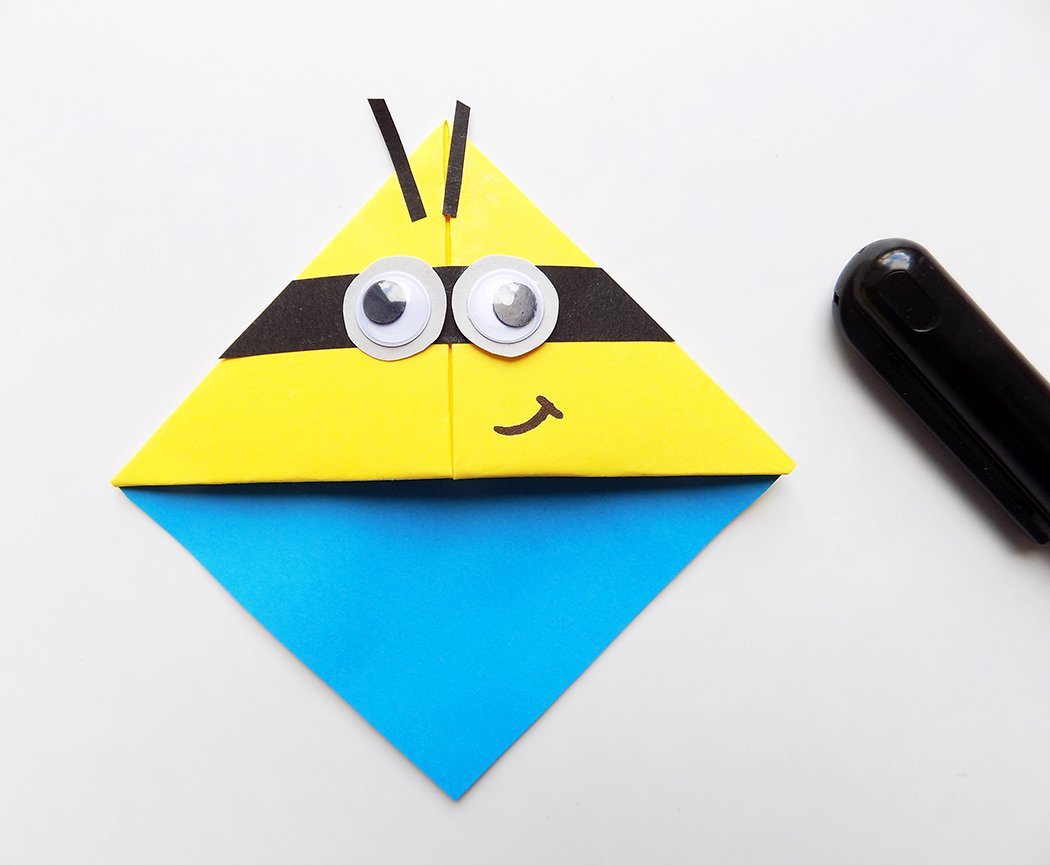
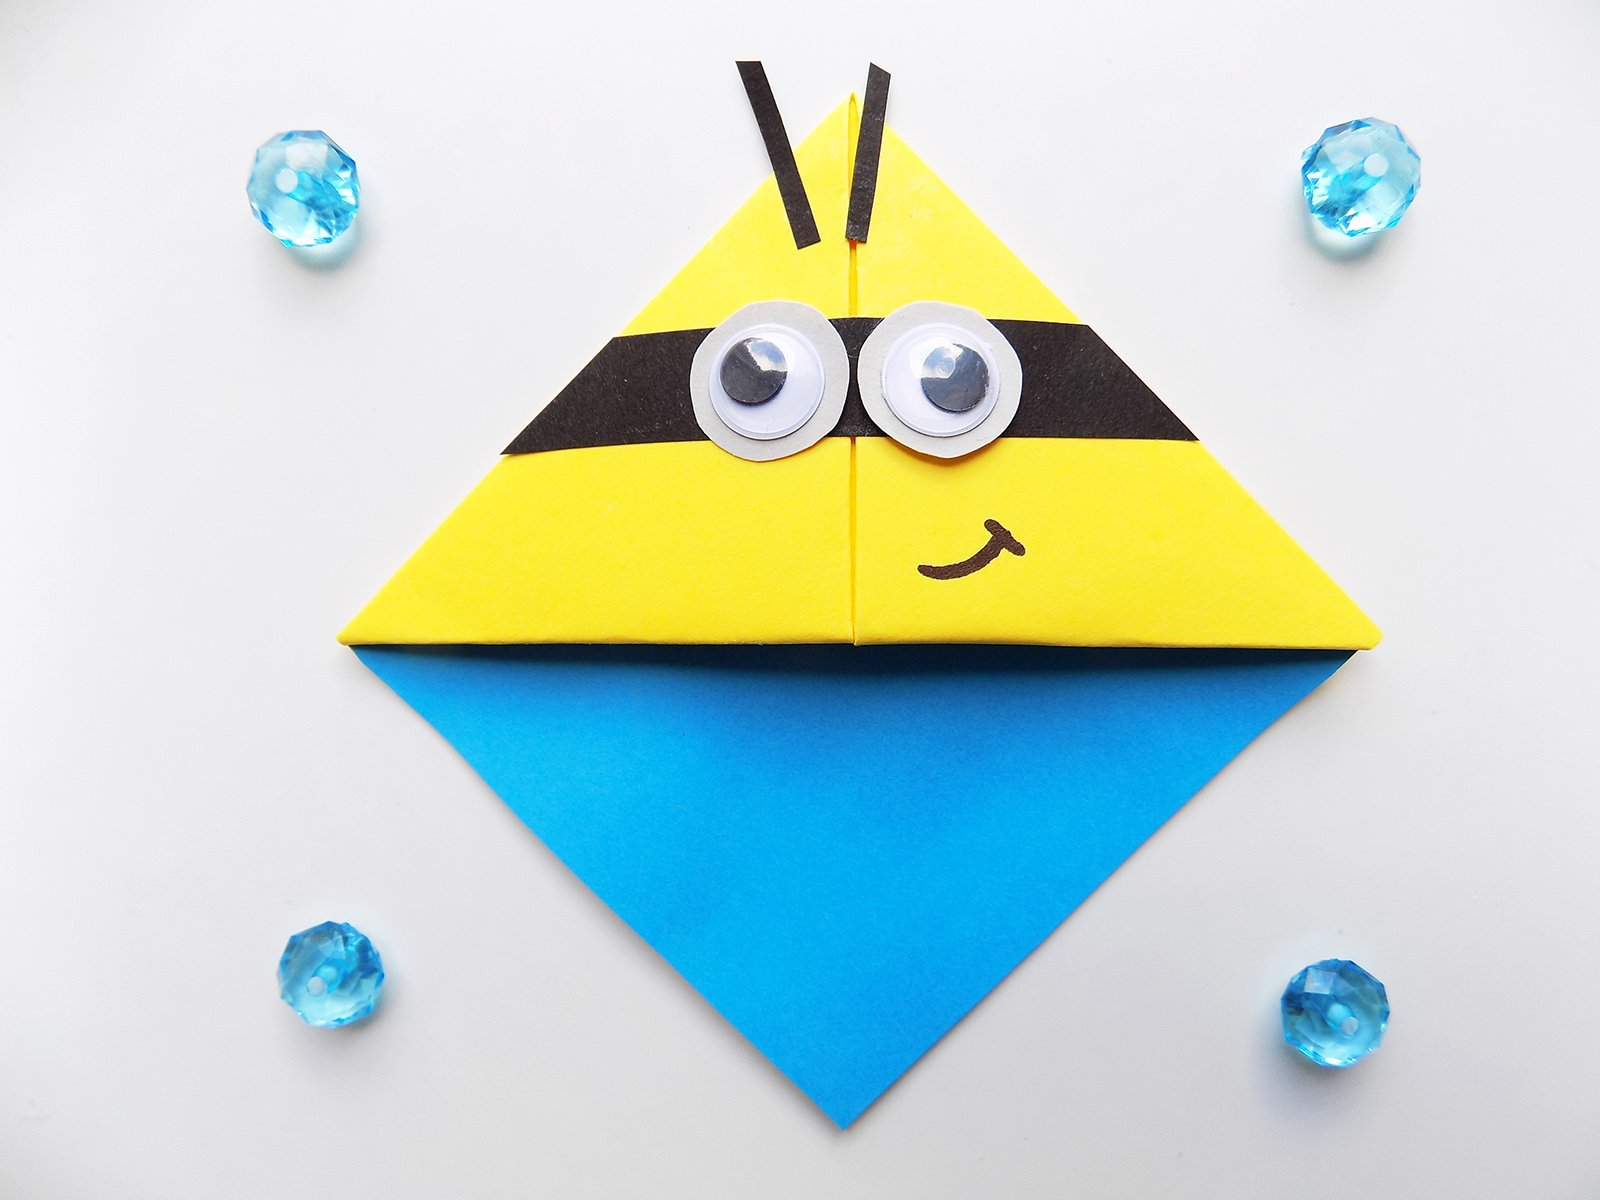
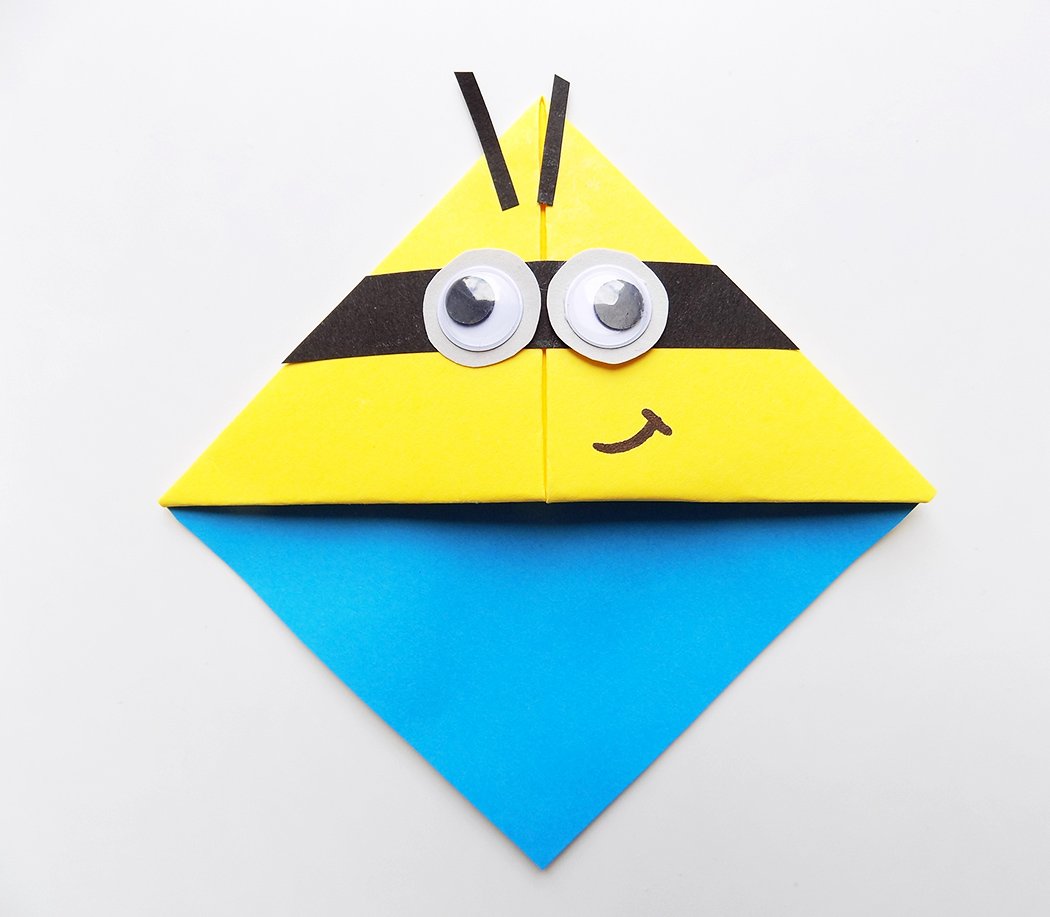
Our Minion bookmark is ready!
This is how it looks in a book.